
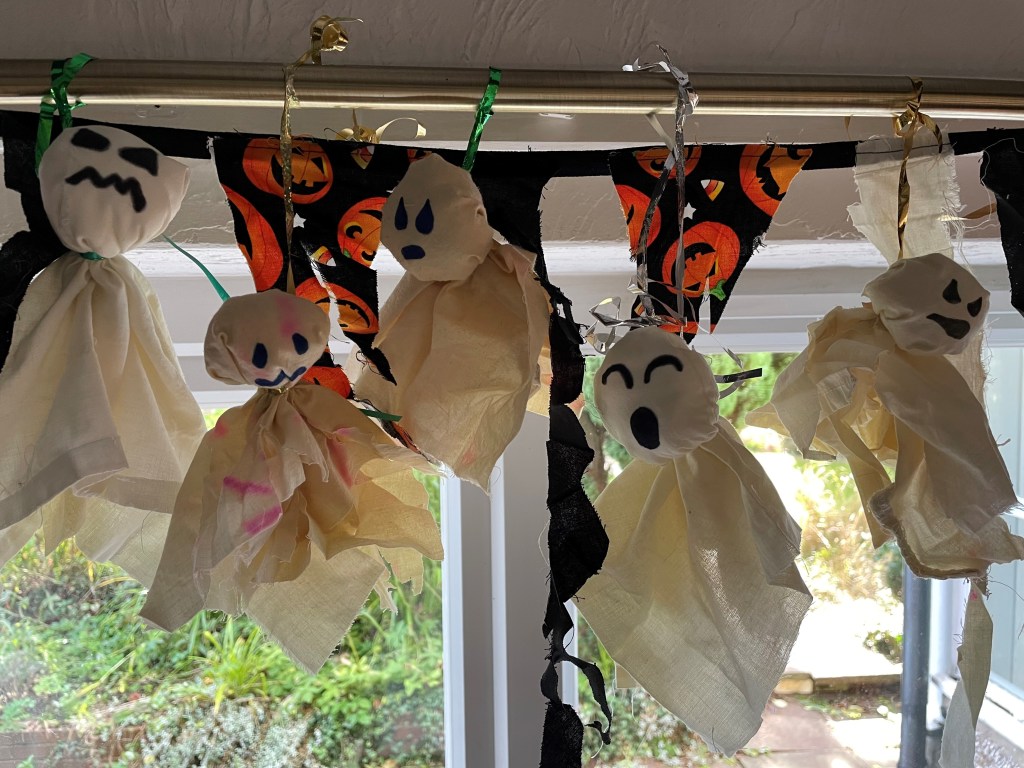
I remember making Hanging Ghosts like this when I was in Primary School. The teacher hung them from the ceiling in the classroom and threw us a Halloween party. I found it so magical, having these little handmade ghosts bobbing and swinging around above me while I danced away to The Time Warp, getting high off Jelly Worms and own brand Cola.
That memory has really stuck with me, and is probably one of the reasons I love Halloween so much. So when my husband and I decided to throw a Halloween party a few years ago, I obviously had to make some Hanging Ghosts. They are so simple and easy to make, and a great thing to get kids involved with. Let them go wild drawing on faces and patterns and hang them in clusters around the house.


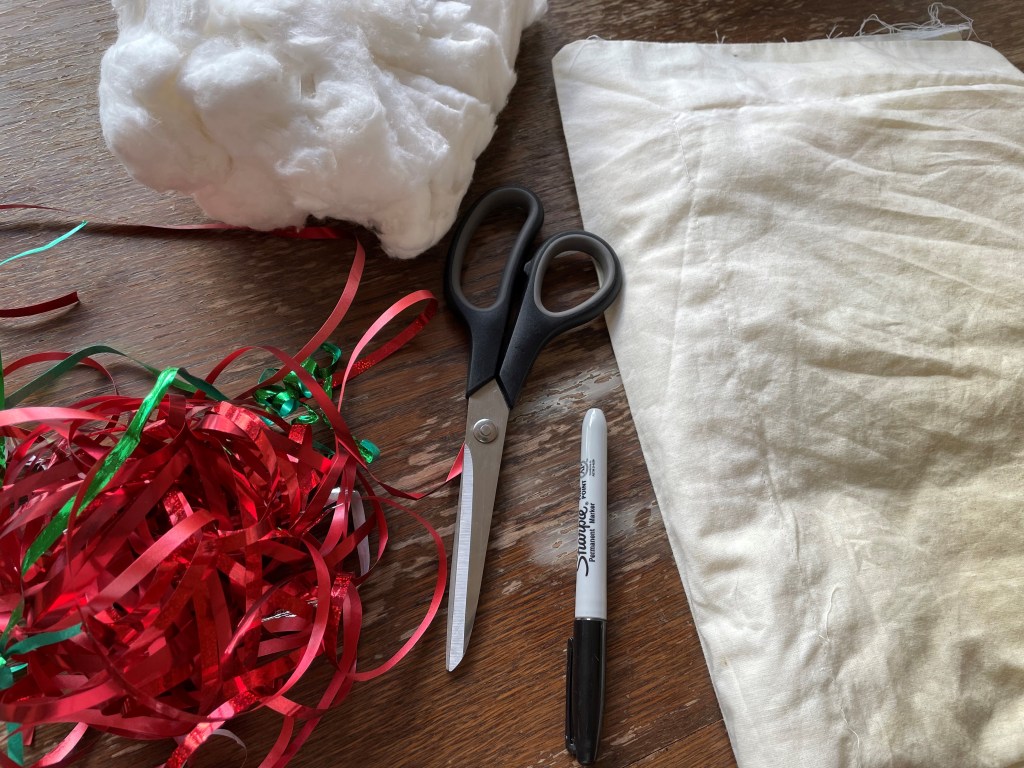
What You’ll Need:
- An old pillow case / bed sheet / large scrap of fabric.
- Cotton wool / scrunched up paper balls / smaller scraps of fabric.
- Curling ribbon / string.
- A pair of sharp scissors.
- A marker pen.
What To Do:
- Cut or tear apart all the seams in your pillow case so you have one big sheet of flat fabric. Don’t worry if the fabric is stained or creased, it won’t matter (mine is full of cat hair!).

- Cut the fabric into squares. They don’t need to be perfect, mine are slightly rectangular as I didn’t want to waste any fabric, it’s fine. Mine measure about 20-30cm on each side, but make yours as big or as small as you like.
- Put a ball of cotton wool in the middle of the square and gather up the fabric around it.

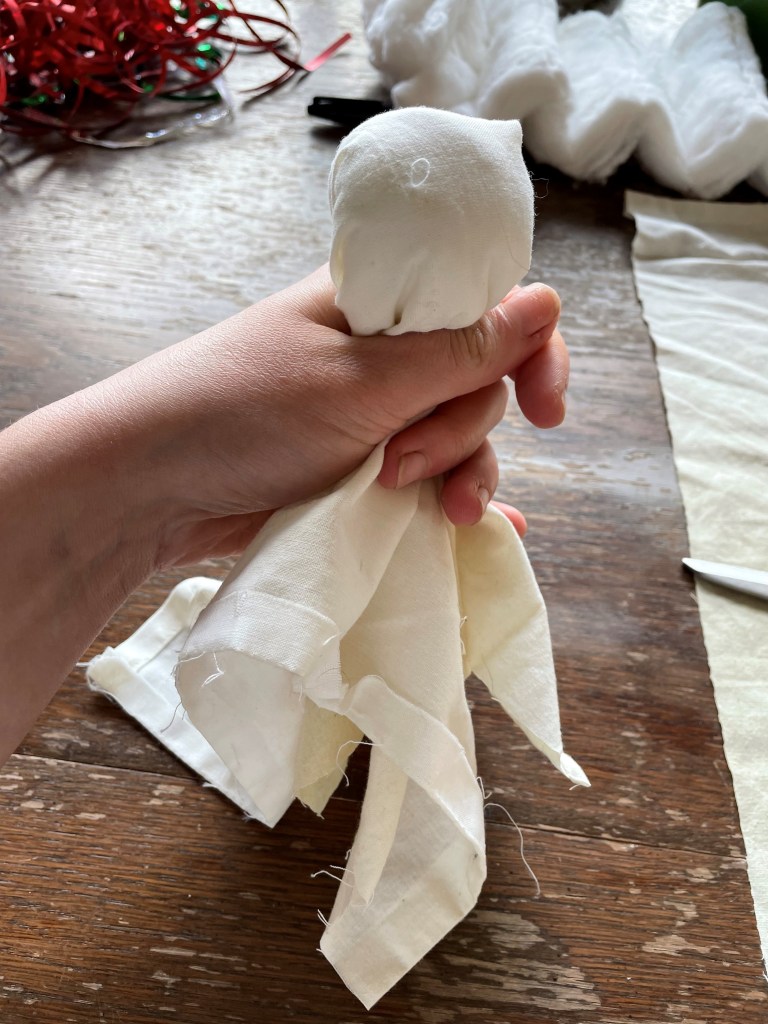
- Tie your ribbon around the cotton wool ball, pulling the fabric tightly around it, in a secure knot.

- Leave one piece of ribbon long to hang your ghost from, and cut the other one short.
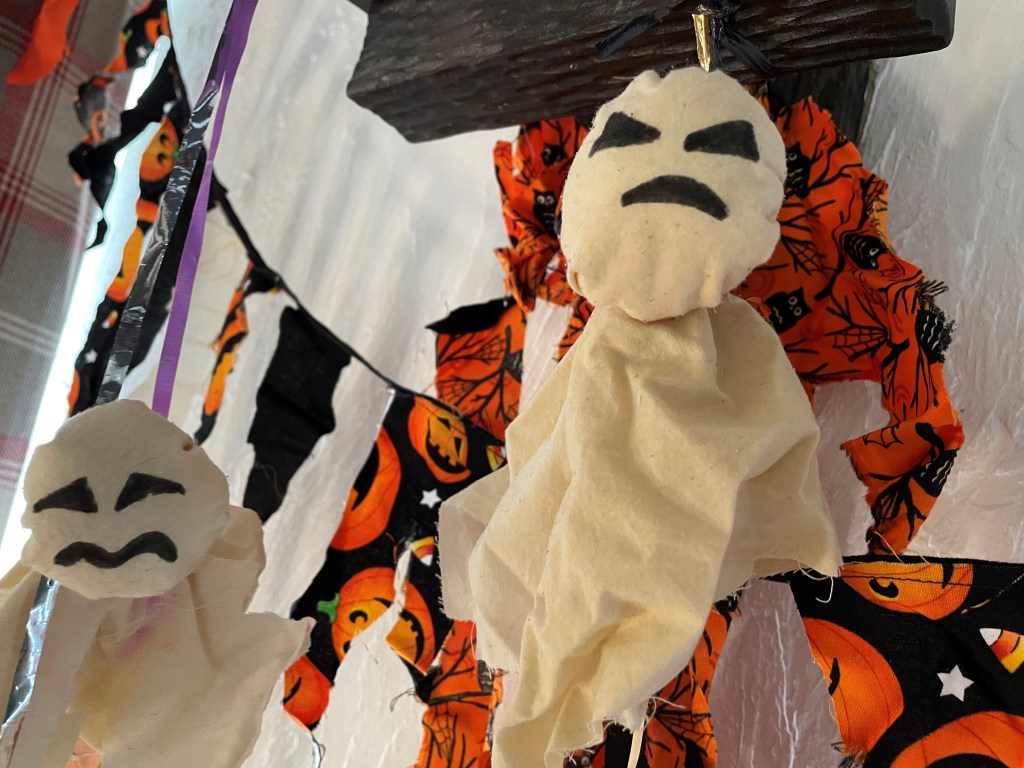
- Draw a face on your ghost, on the opposite side from where the knot is. This is so your ghost hangs from the back and tips forward slightly, so you can see it’s face when it’s hung up.


If you liked this post, you may also like:
