

Last week I showed you how to plan a hamper and how to keep the costs down (see that post here), this week I’m going to show you how to put together and wrap your hampers!
First of all, the box:
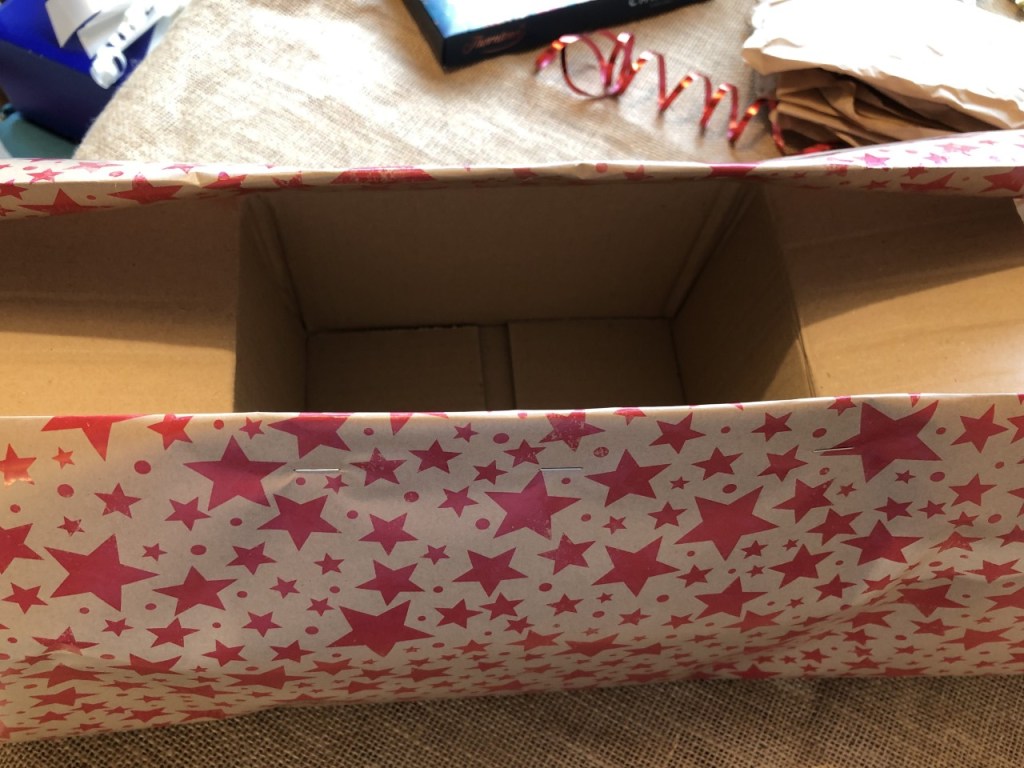
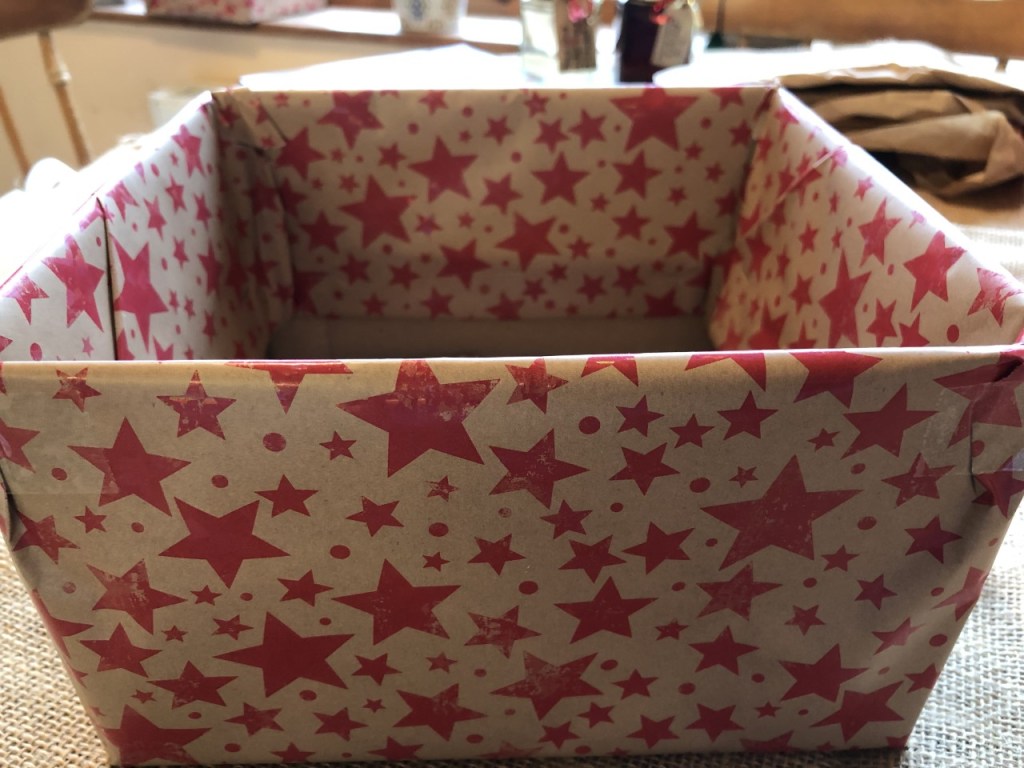
I find a box with flaps to be the easiest to use, you can attach the wrapping paper to the flappy bits and push them inside the box, hiding the raw edges. A shoe box for example, is a lot harder as you either have to do a really neat job around the inside edges, or take the paper right down to the bottom.
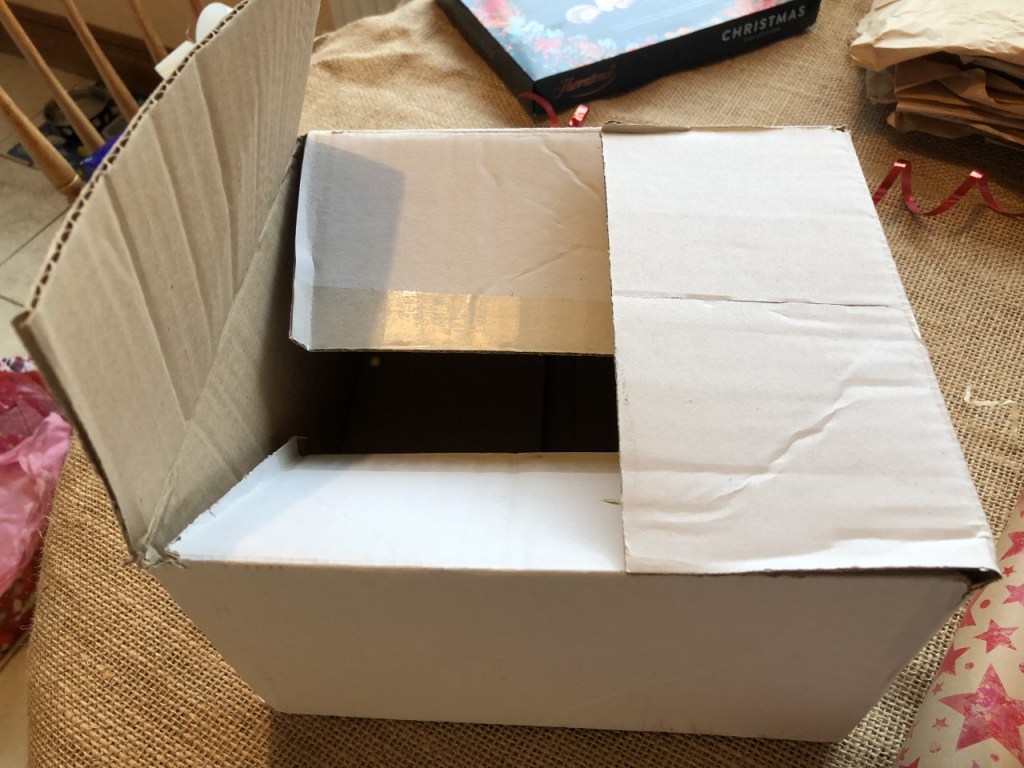
The easiest type of box to wrap 
A shoe box is harder than it looks to wrap
Here’s how to wrap your box . . .
What you’ll need:
- A roll of wrapping paper
- Scissors
- Stapler and staples
- Sticky tape
Make sure the flaps on the bottom of the box are securely taped shut and open up the top ones.
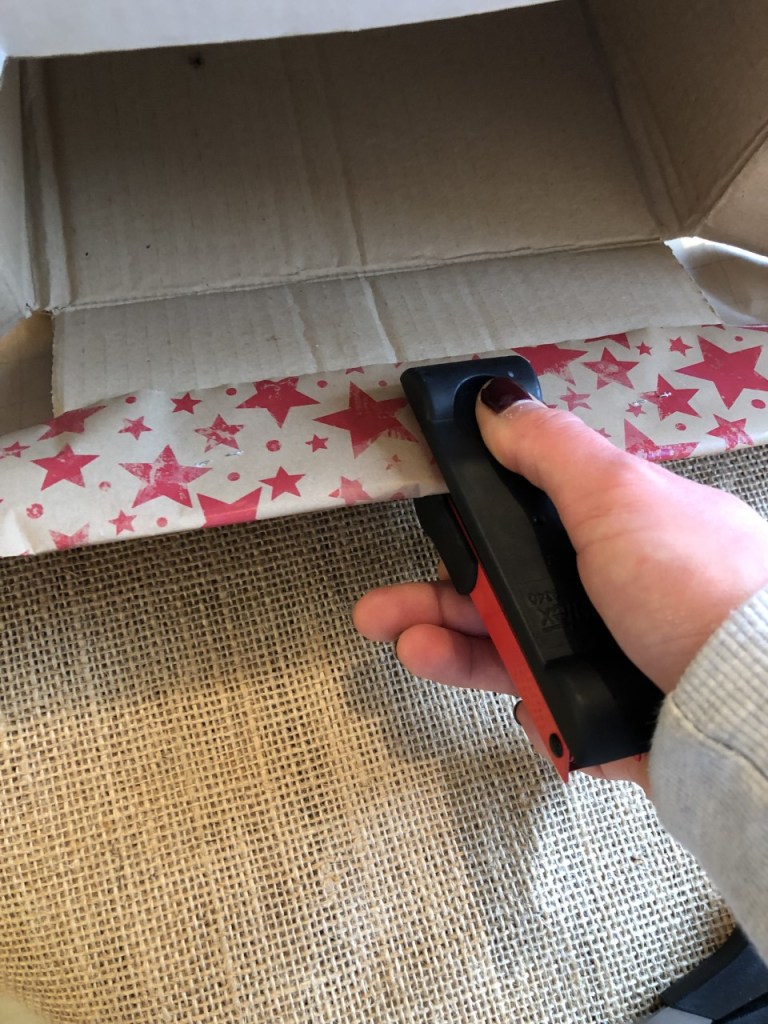
Lay the box on it’s side on top of the wrapping paper and fold the edge of the wrapping paper over the edge of the bottom flap and staple:
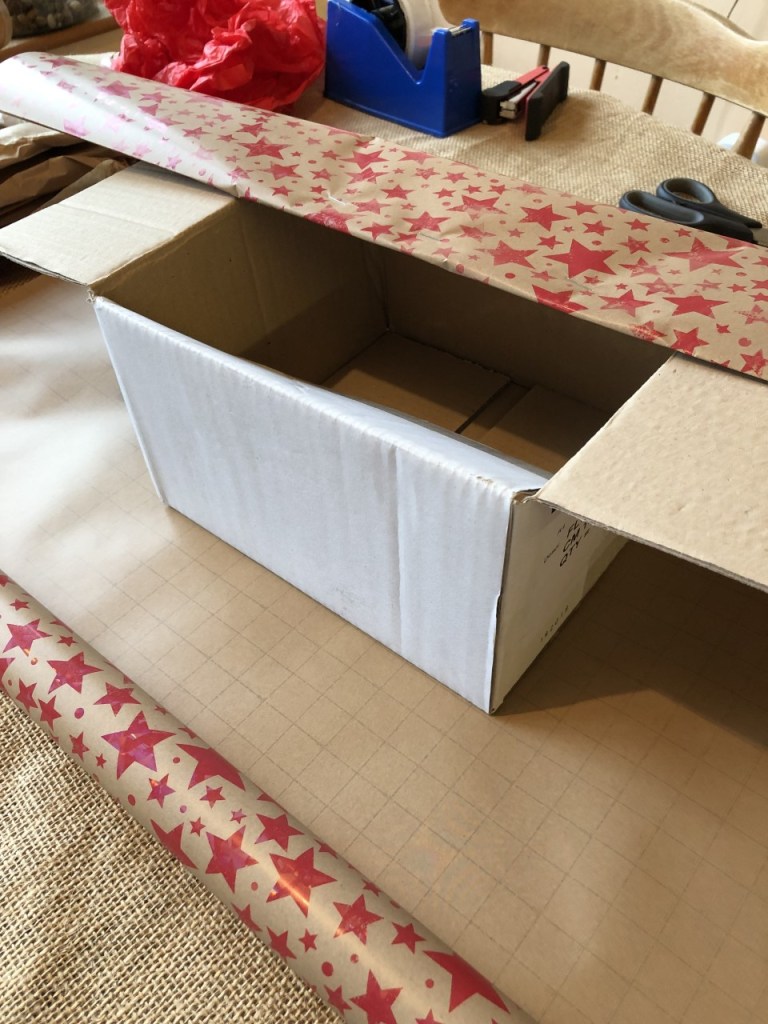
Turn the box over onto the opposite side, cut the paper off the roll to size and repeat:
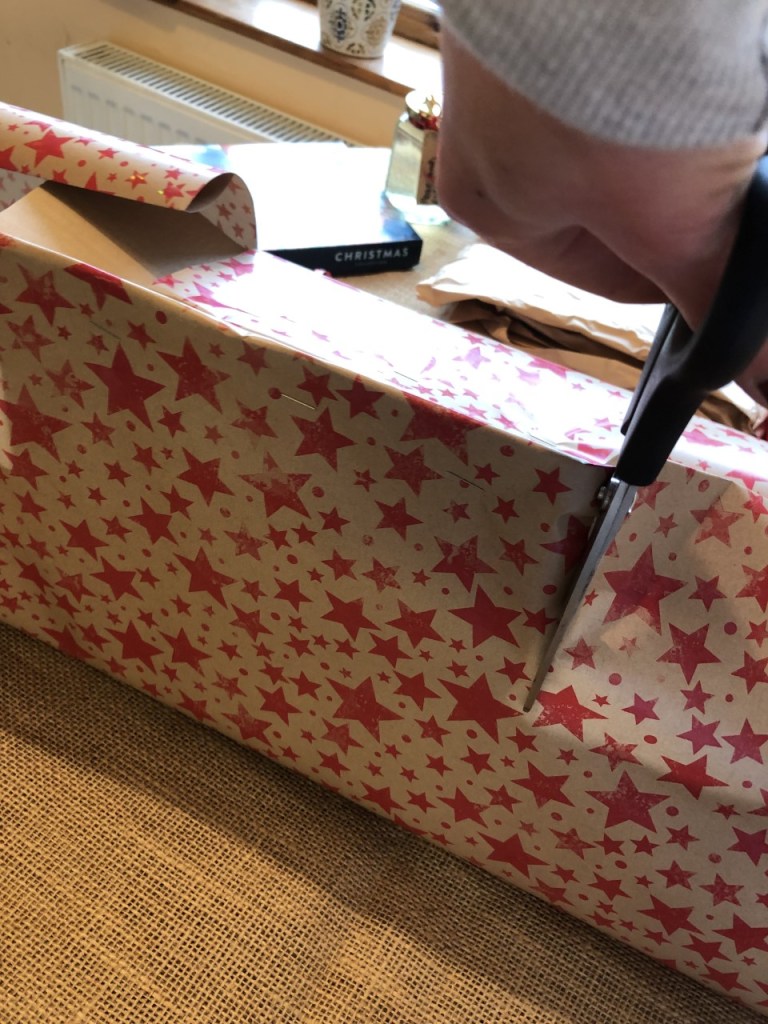
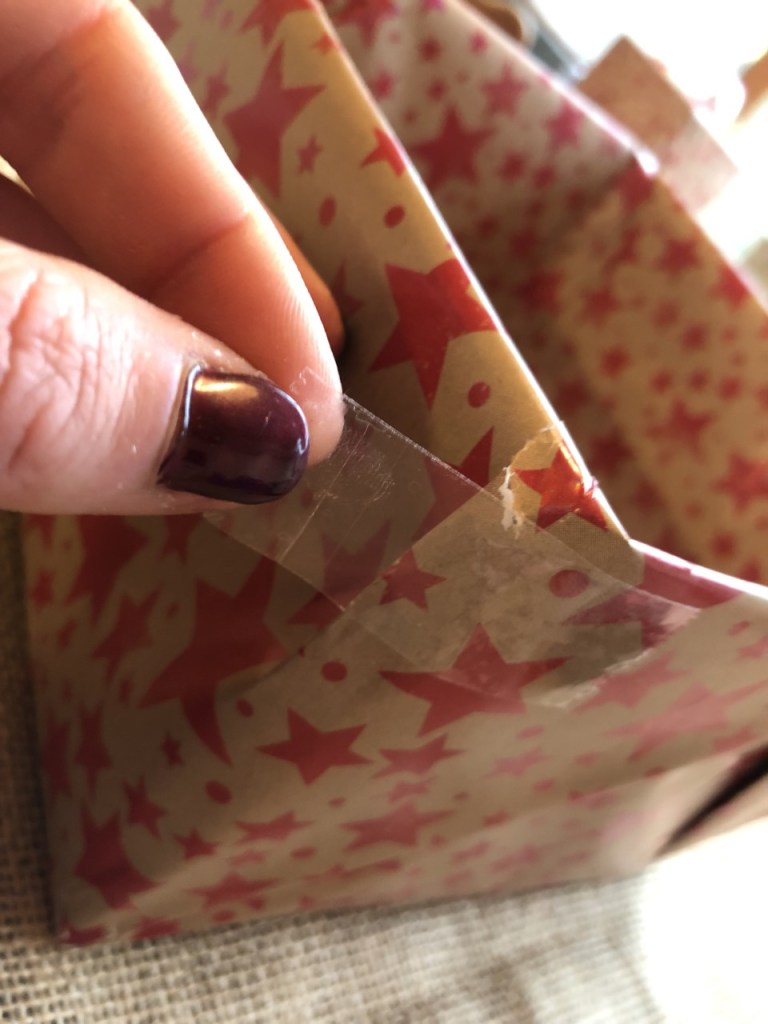
Make a cut into the excess paper either side of the box flaps you have just stapled. The cut should go down to the height of the top of the box. This will allow you to push those flaps inside the box without the paper ripping:
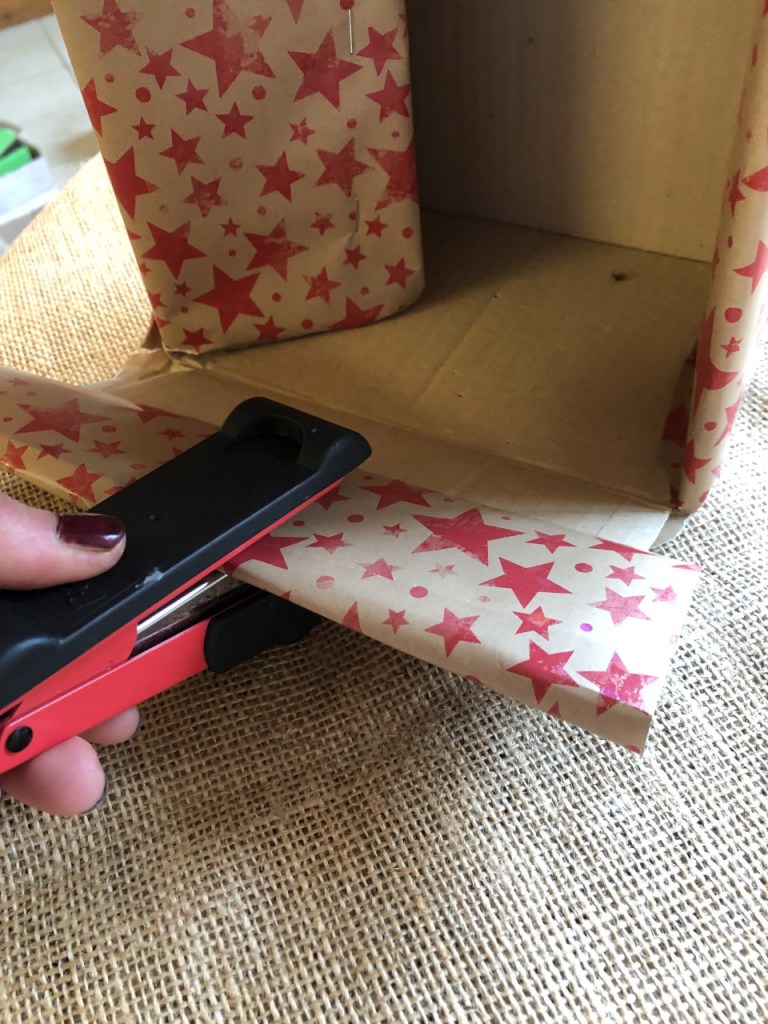
Next, focus on one of the sides where the paper isn’t yet secure, and fold the excess paper like you would on a present – the bottom piece up so it lays flush with the box, then one side across diagonally, then the other. Secure with a bit of tape, fold the raw edge over the edge of the flap and staple as before:

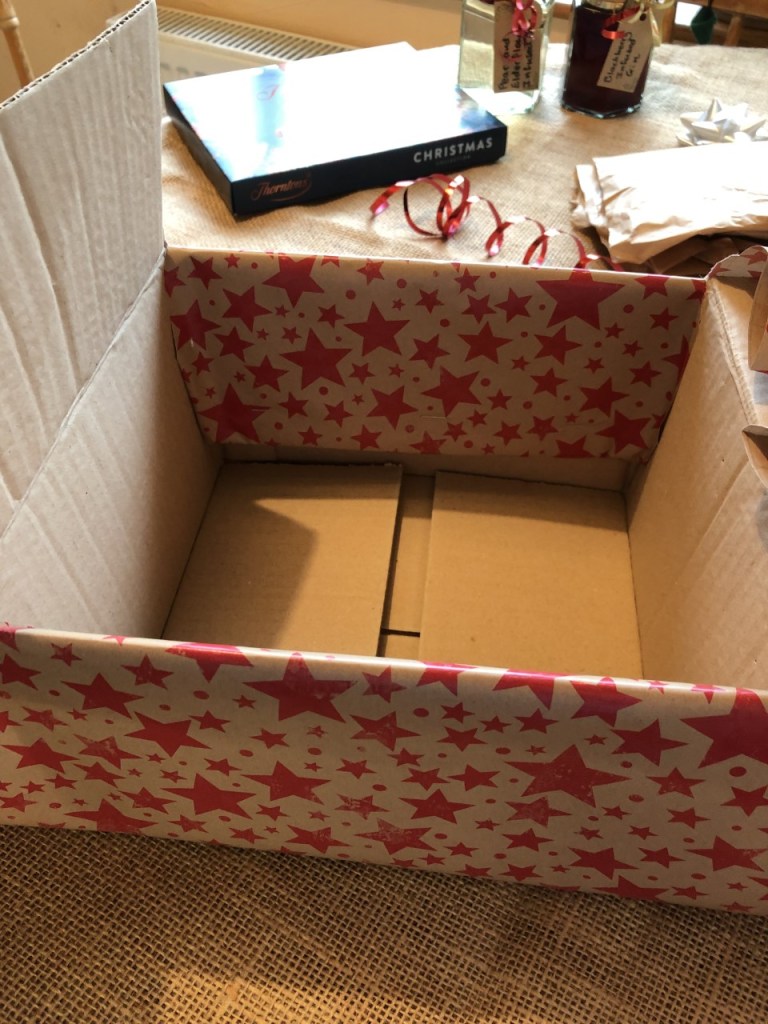
Repeat on the remaining side, then push the remaining 2 flaps inside the box and tape up any small tears:
Et viola, you have a box ready to be filled with lovely hamper items!
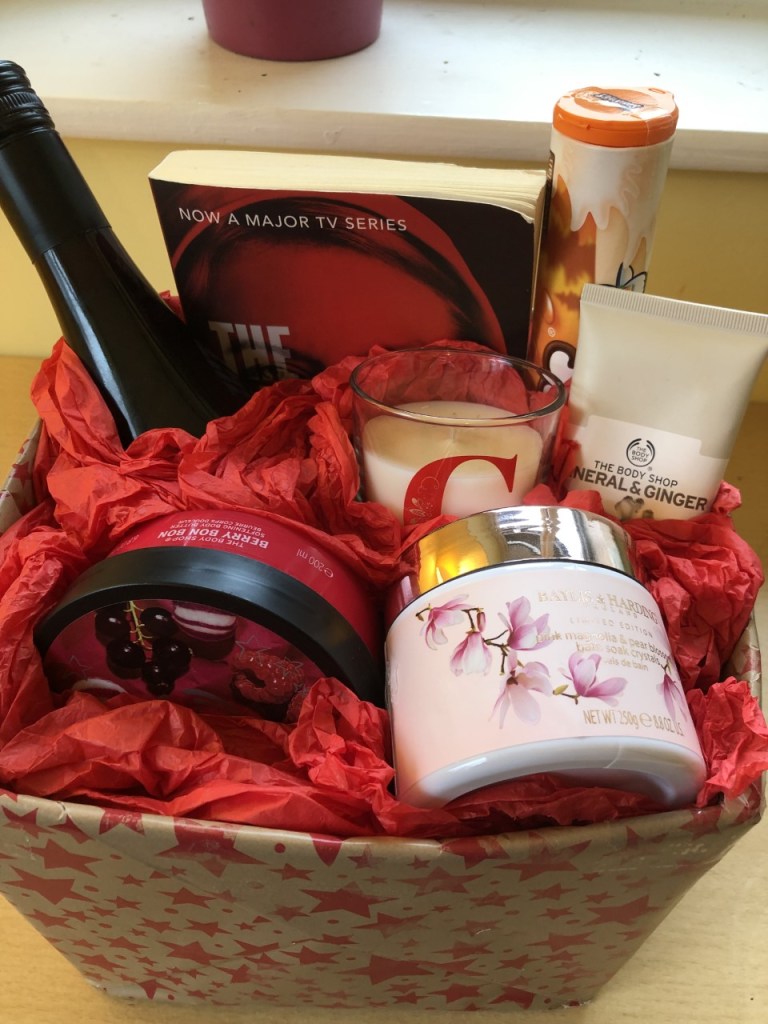
Next, fill your box:
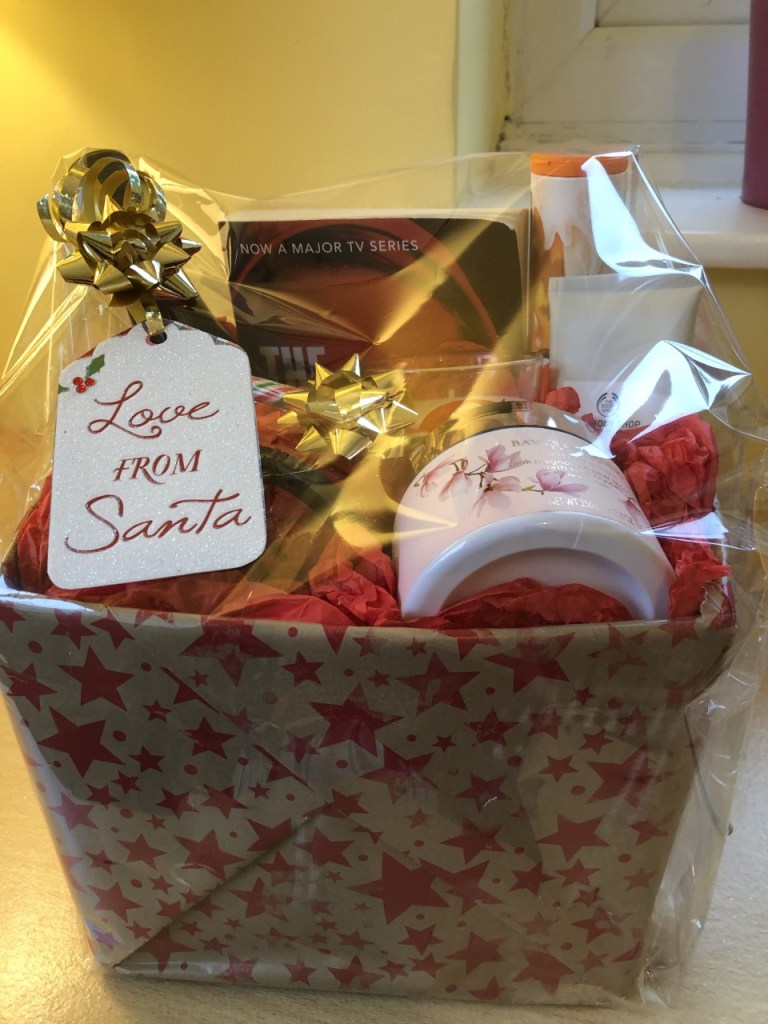
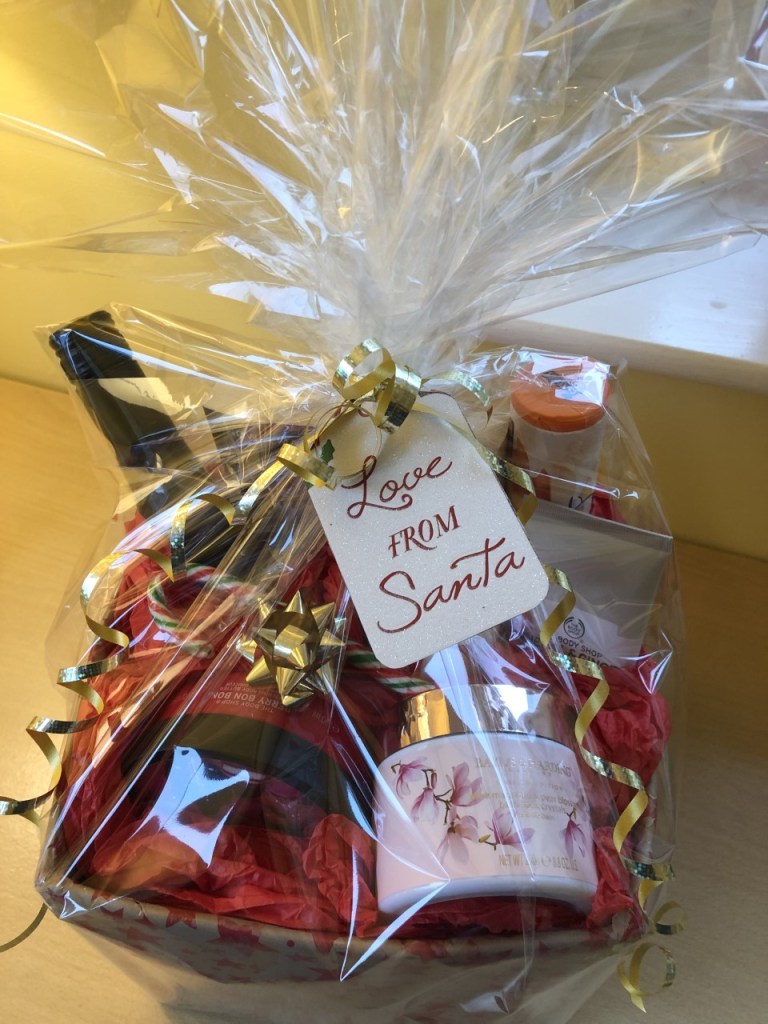
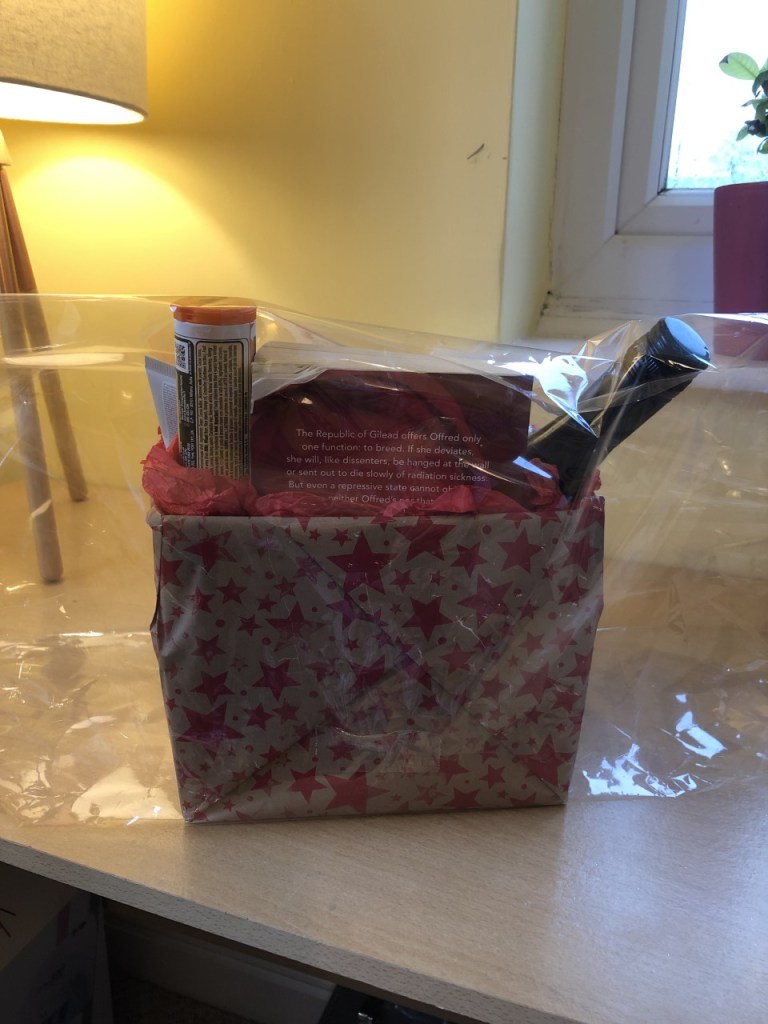
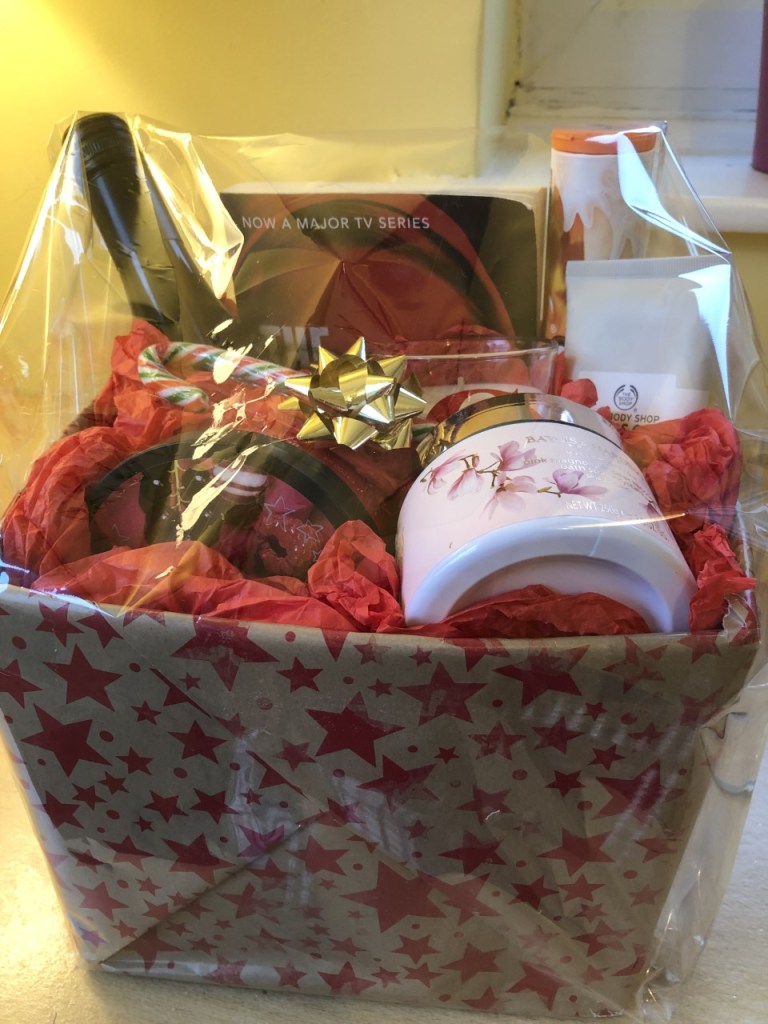
I’ve gathered some items together that would make a great Grown Up Bath Time Treats Hamper – bottle of wine, book, chocolates, smelly candle, bath salts, luxury face mask and body butter.
What you’ll need:
- Your wrapped box
- Your hamper items
- Brown parcel/packing paper
- Coloured tissue paper or decorative straw
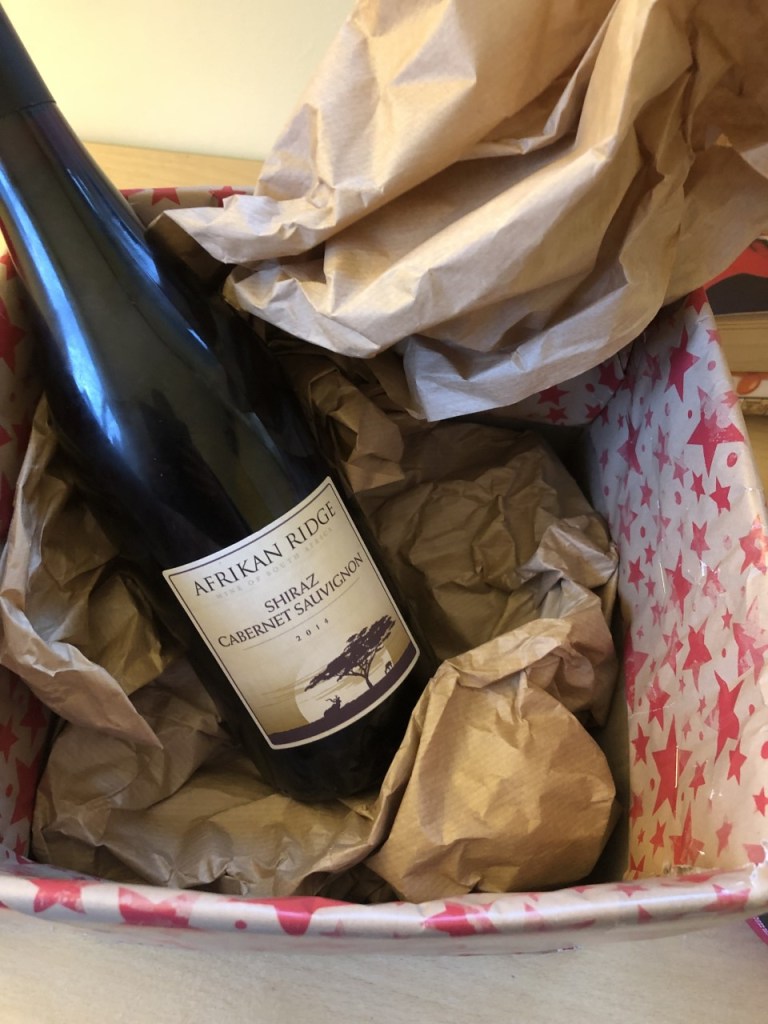
Scrunch up some brown paper into the bottom of the box and start placing the largest items in first, towards the back of the box. Wrap more paper around any glass items to make sure they are protected, and make sure you can see a bit of every item. Leave any small items till last and place them at the front of the display on top of more scrunched up paper to make sure they can be seen:

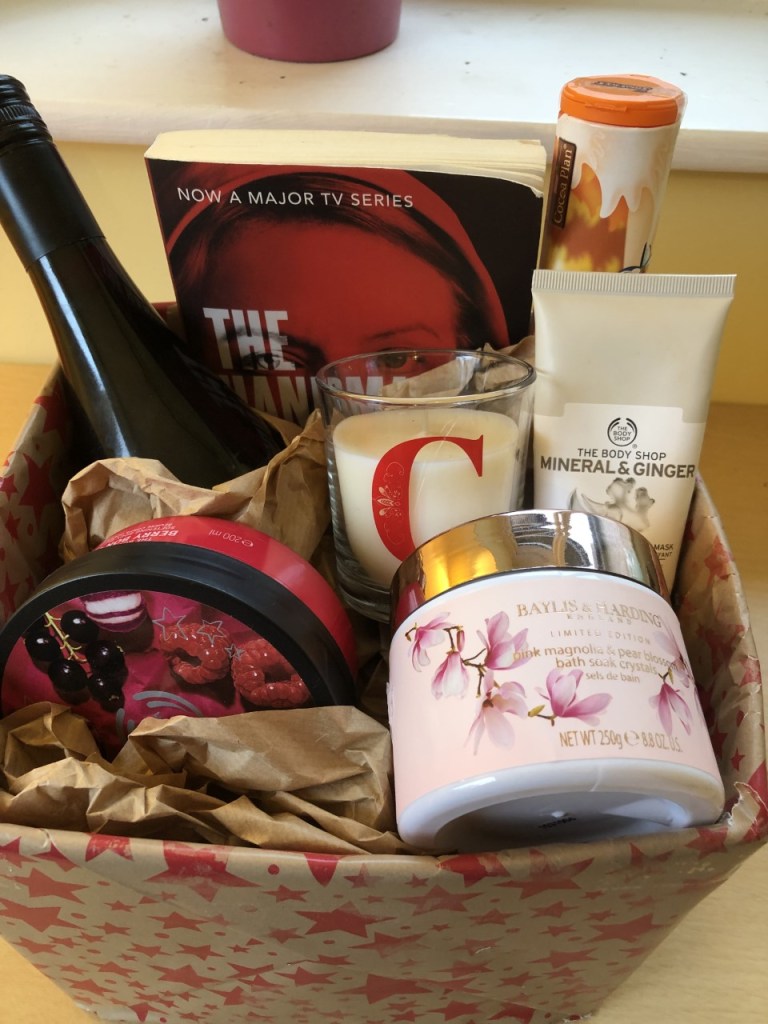
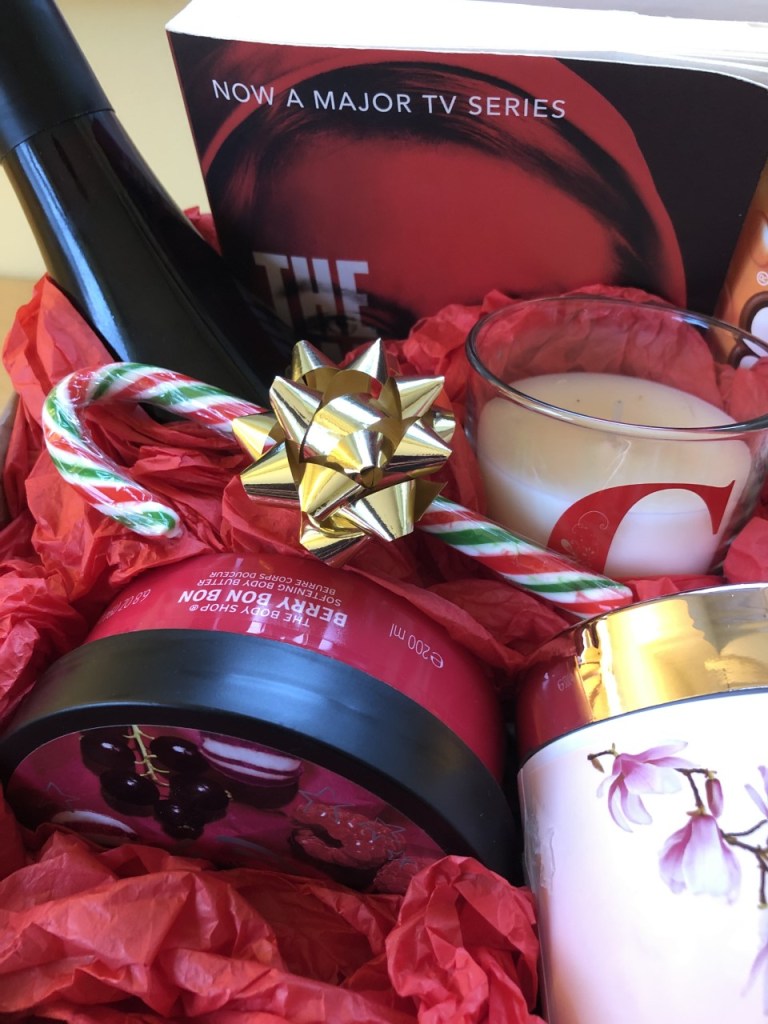
Next, take some coloured tissue paper (or shredded paper or decorative coloured straw) and tuck it in between each item, hiding all the brown paper.
If you have any gaps, fill them with a decorative star, a curl of ribbon or a candy cane etc:
Now it’s time to wrap!
There are two main ways to wrap a hamper – ‘Gathering’ and ‘Up and Over’. The Gathering technique uses more cellophane, but it’s more dramatic. The Up and Over technique uses less cellophane and you can see into the hamper much more, but it is less showy. I’m going to show you both.
What you’ll need:
- Your hamper
- A roll of clear cellophane
- Scissors
- Sticky tape
- Curling ribbon/string
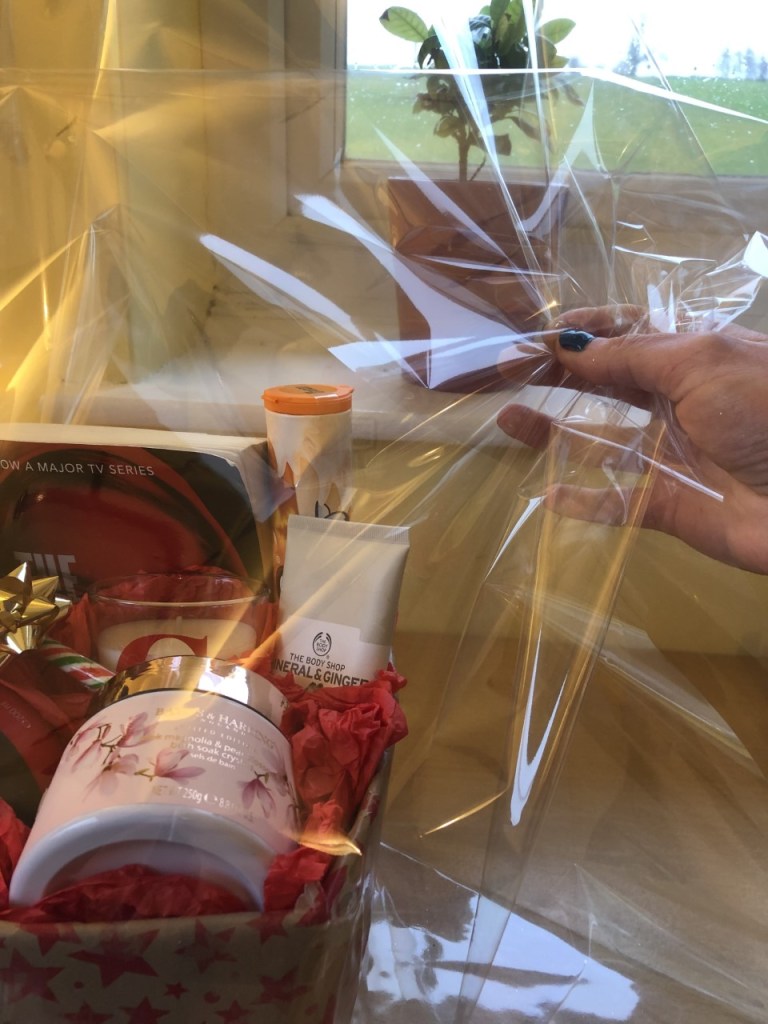
First off, Gathering:
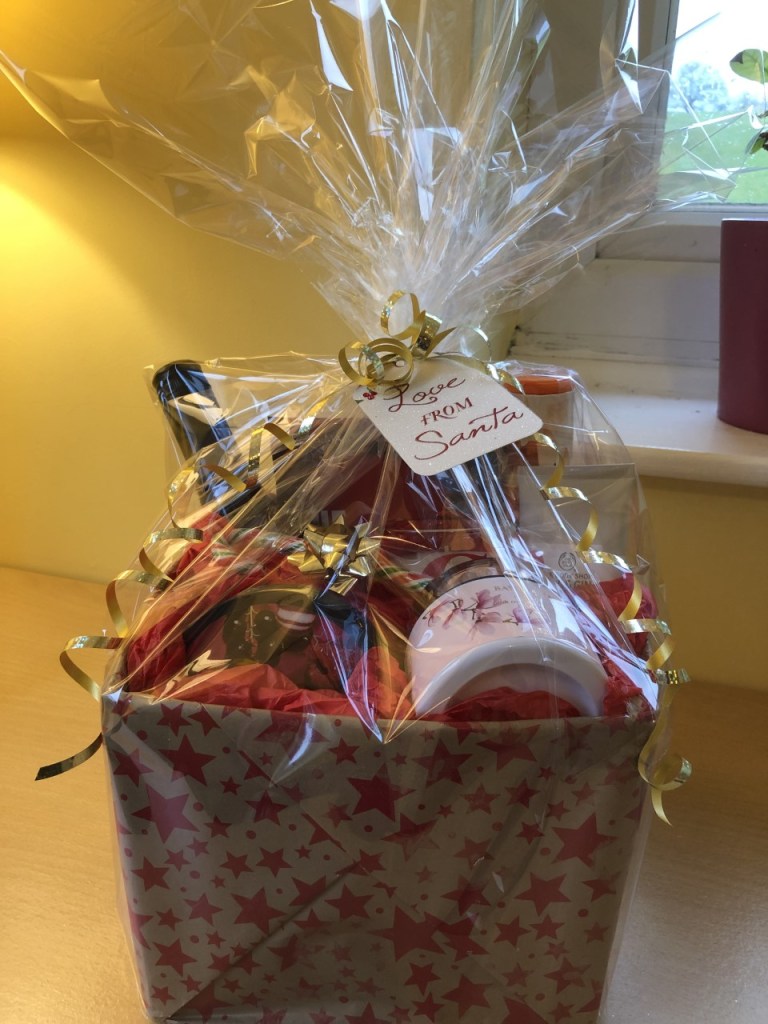
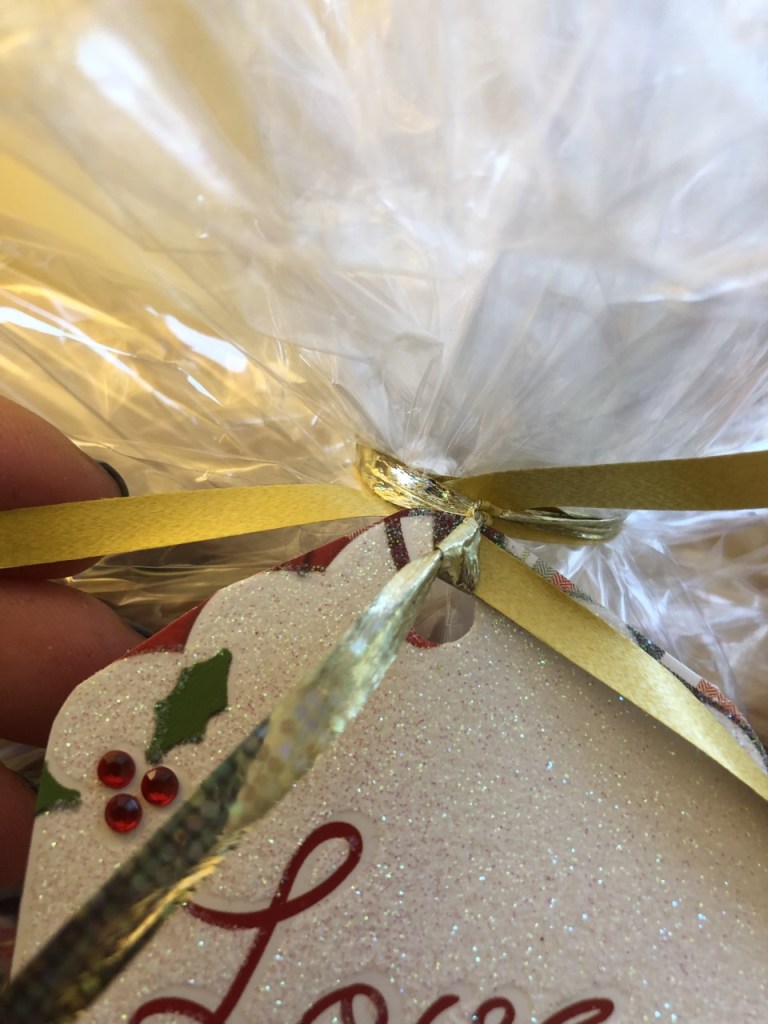
Take a large piece of cellophane and lay it out flat. Place your hamper in the middle and draw the the front and back edges of the cellophane over the top of the hamper to meet above. Hold this point, where the two edges of cellophane meet, with one hand, and draw the rest of those top edges in to meet it, scrunching it together as you gather. The sides will still be open. Secure at the top with a piece of curling ribbon or string tied tightly around the gather:
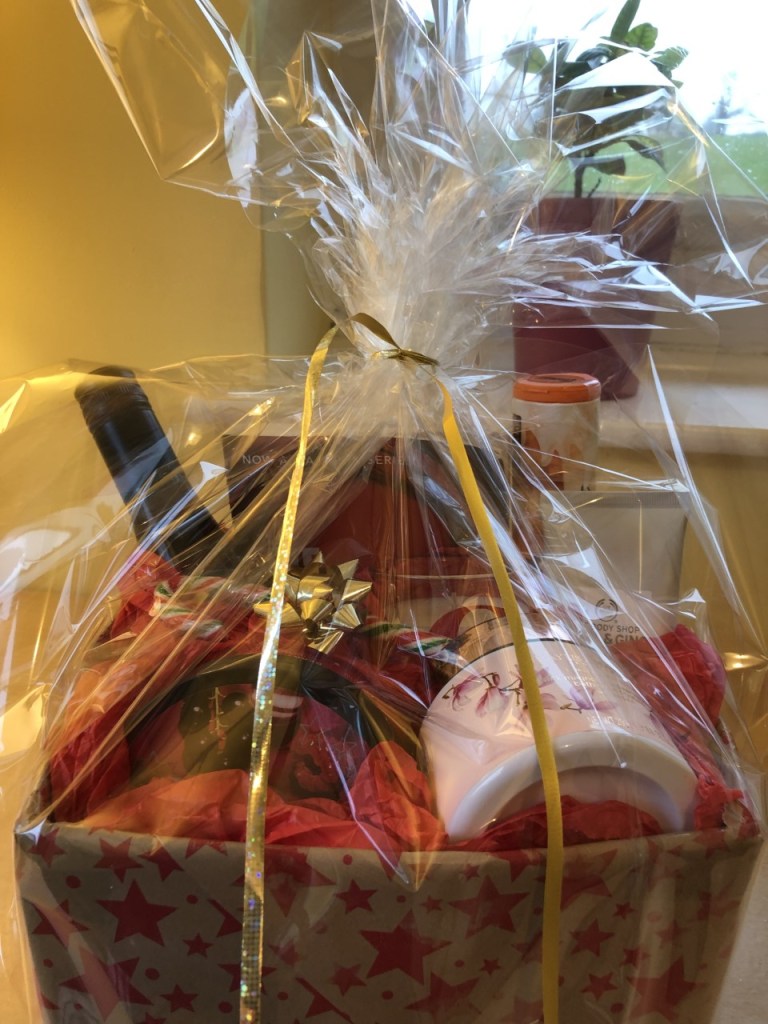
Now to the sides. Like a present, fold one side of the loose cellophane diagonally, flush with the box, and the other side diagonally over the top. Tape in place. You will be left with loose cellophane at the bottom, just tuck this underneath your box and tape into place. Repeat with the other side:
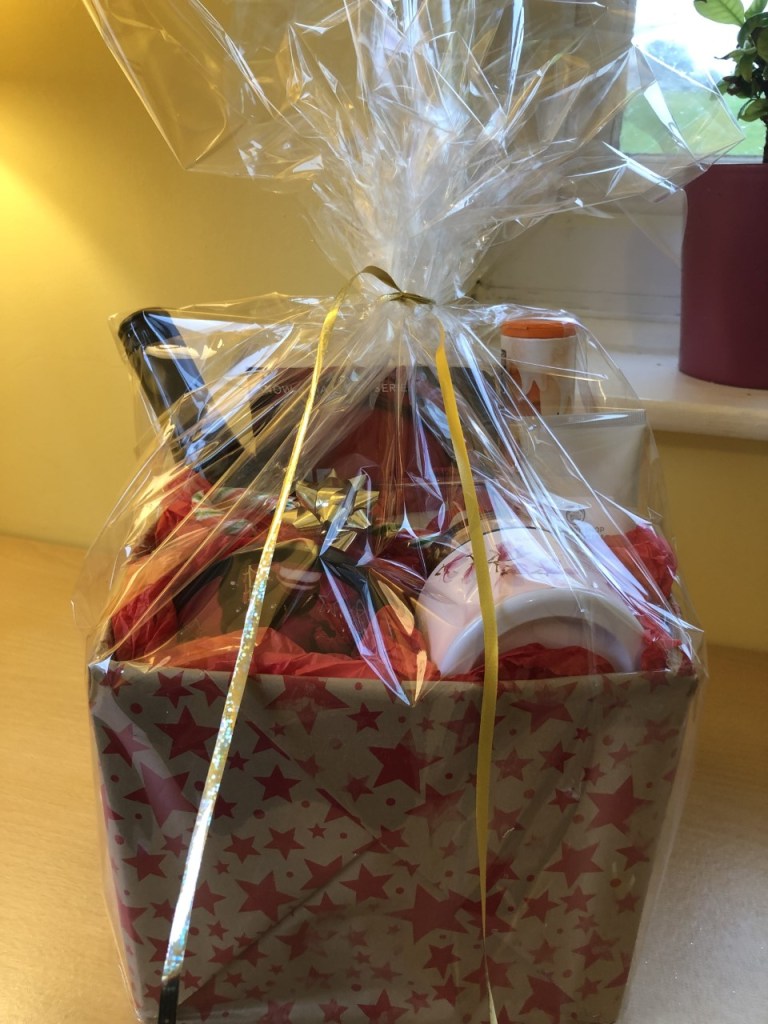
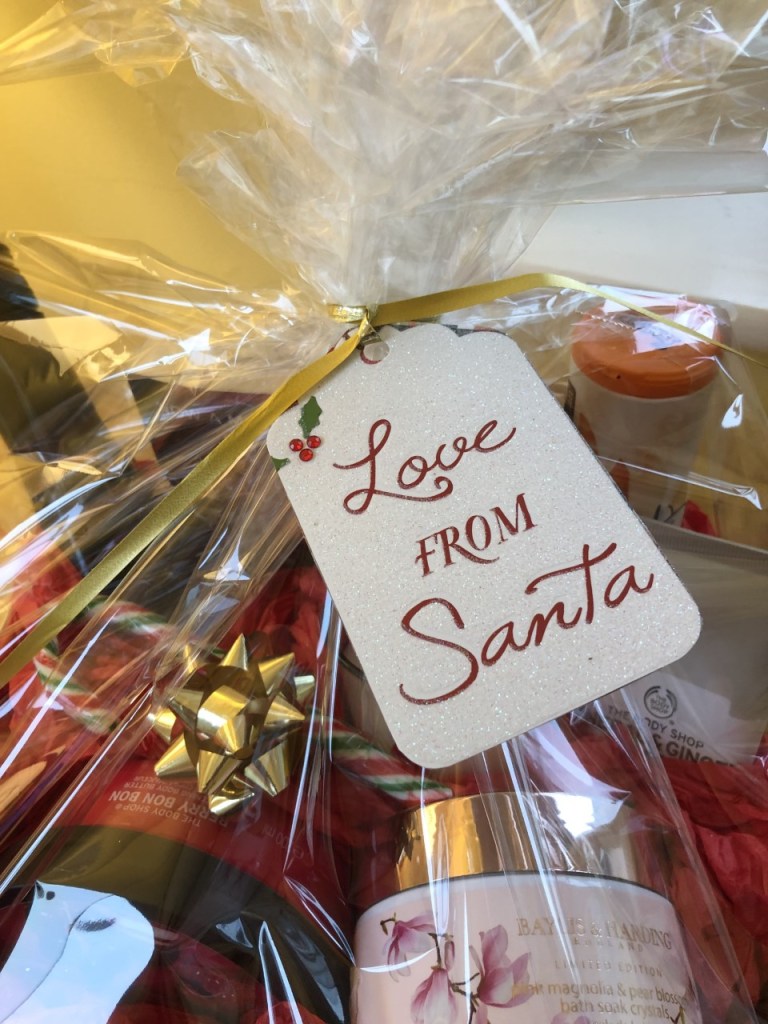
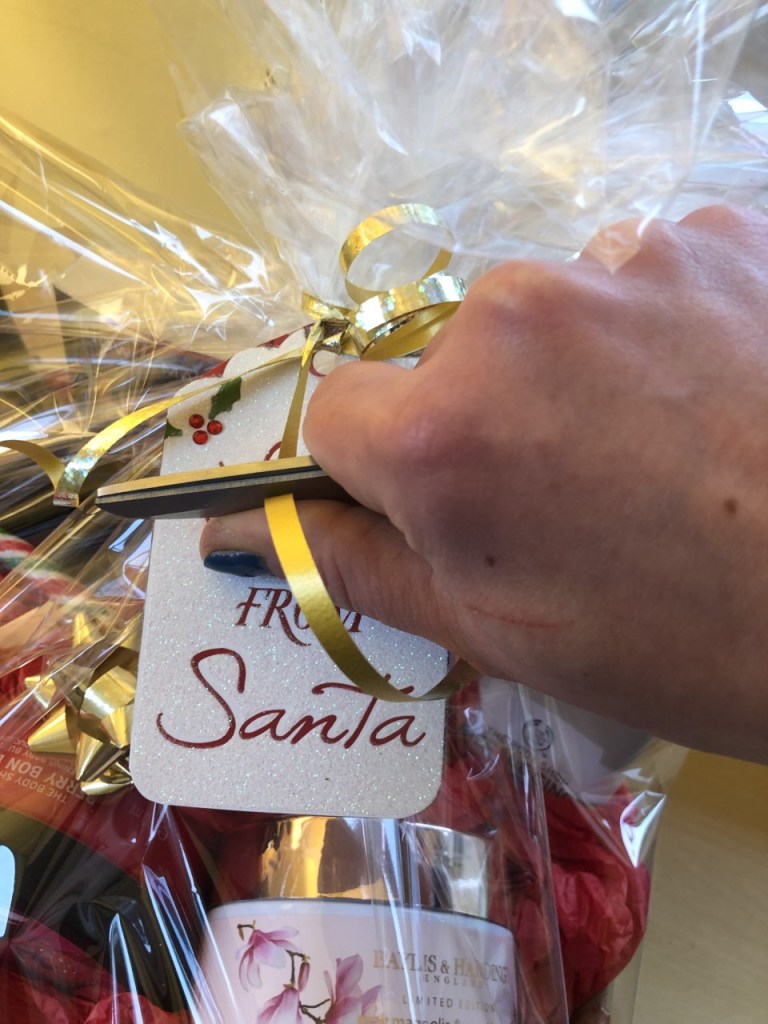
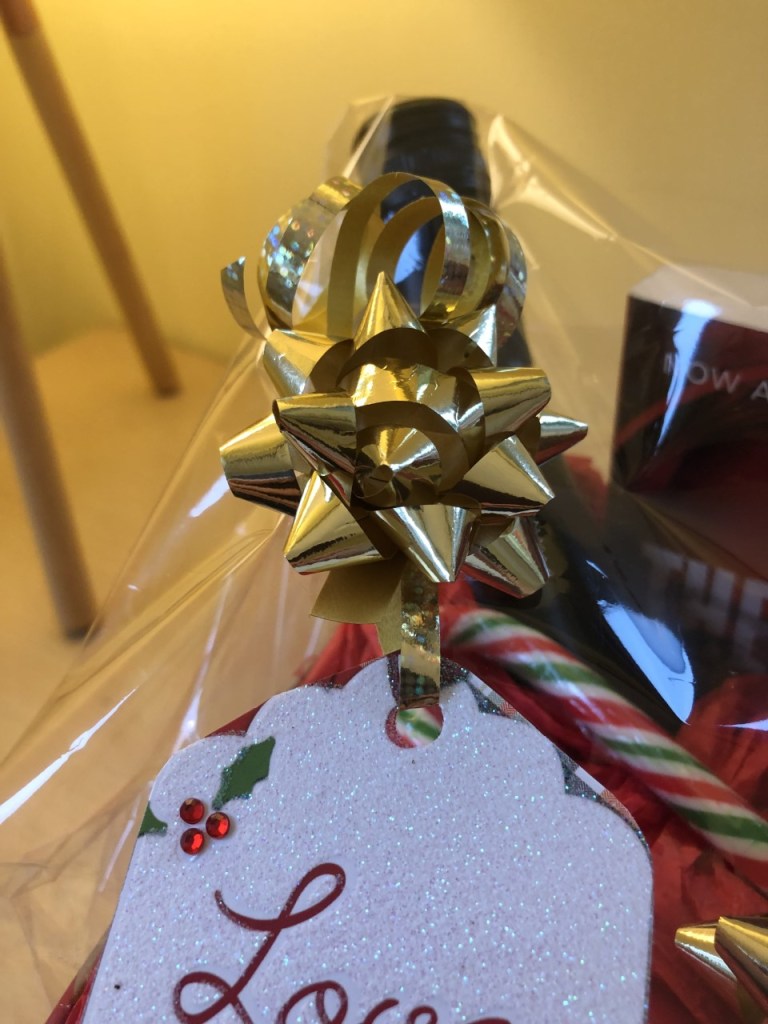
Attach your label to the tie point at the top and curl the ribbon using the edge of closed scissors. Tuck more curling ribbon through the tie to create more curls if you like. Alternatively, cut the tail really short, ensuring the knot is still secure, and tie a big bow over the top to hide the string.
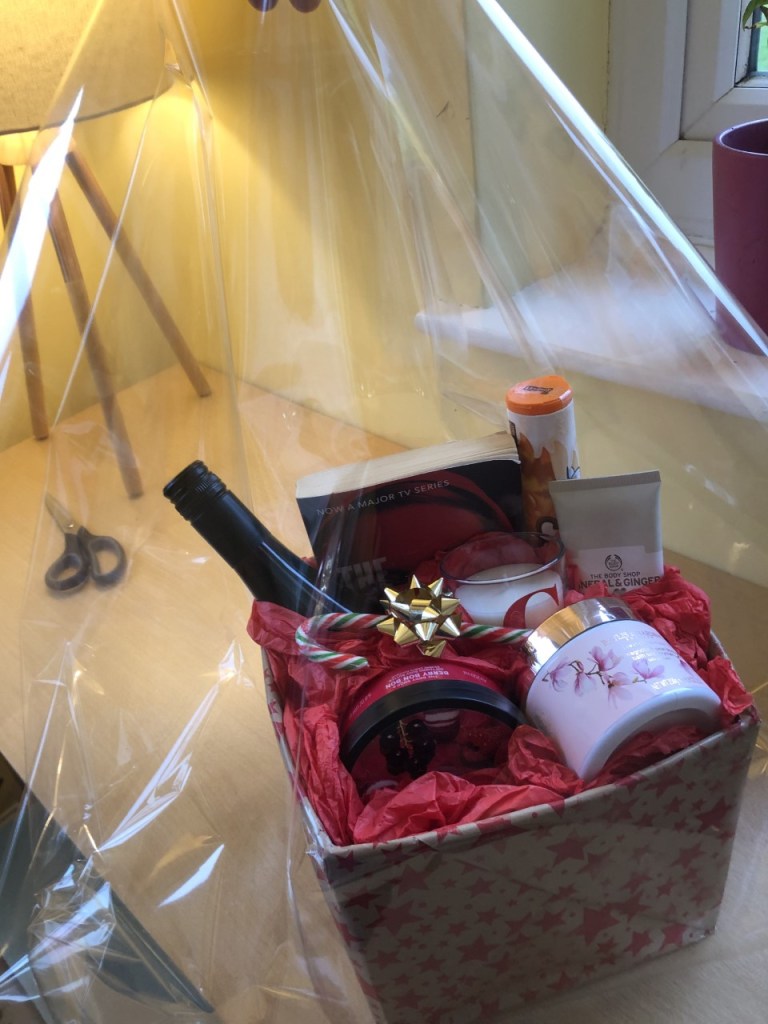
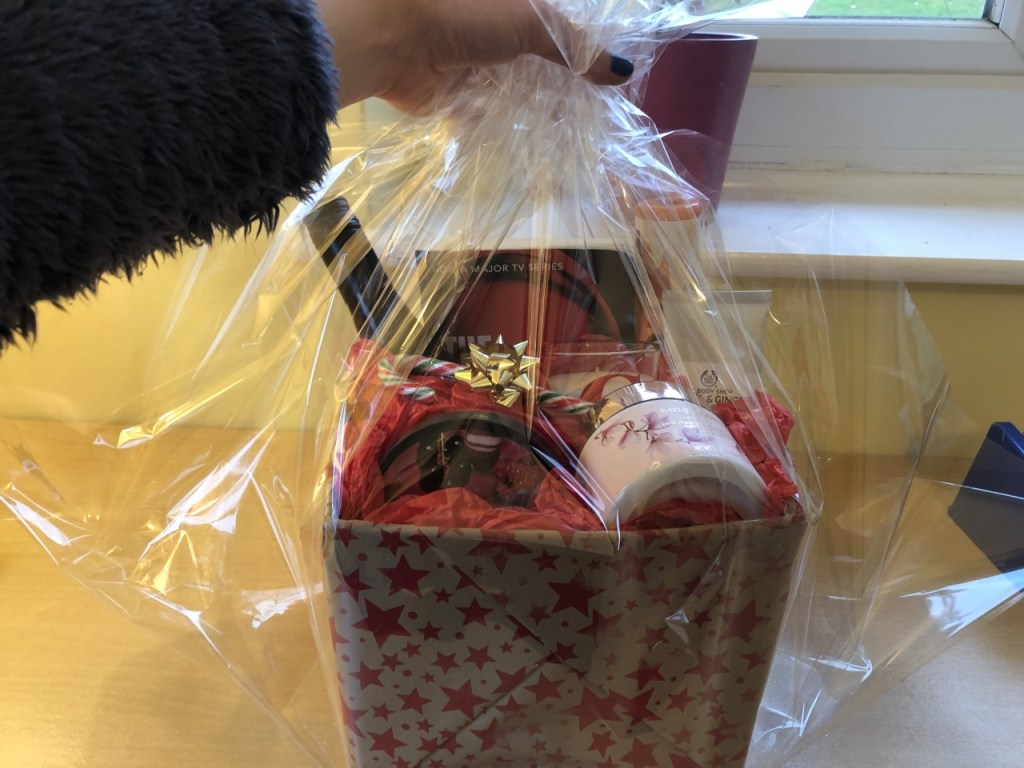
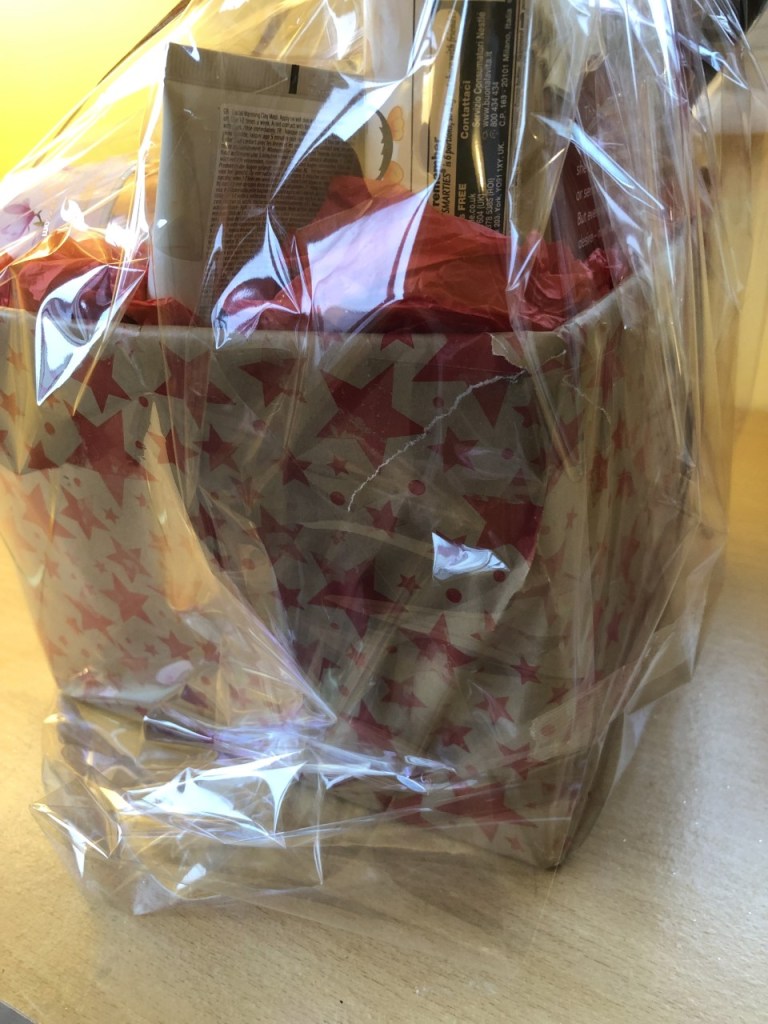
Next, Up and Over:
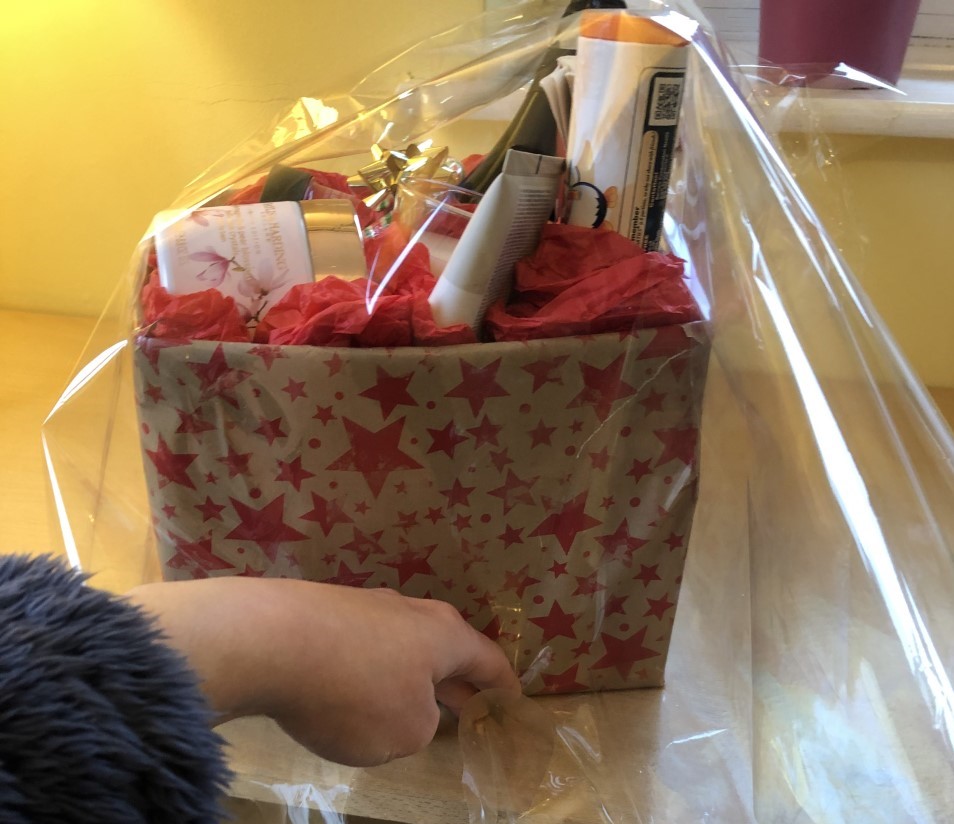
Sit the hamper in the middle of a large sheet of cellophane. Pull the front piece of cellophane over the top of the hamper so it meets the other one at the back and tape it in place:
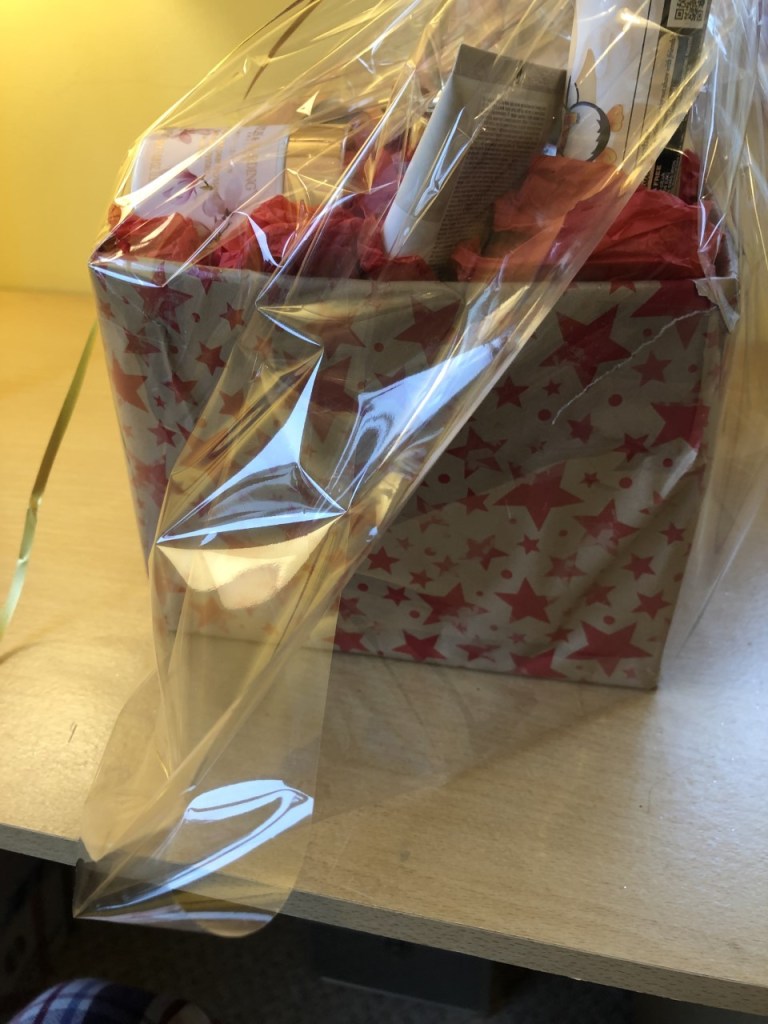
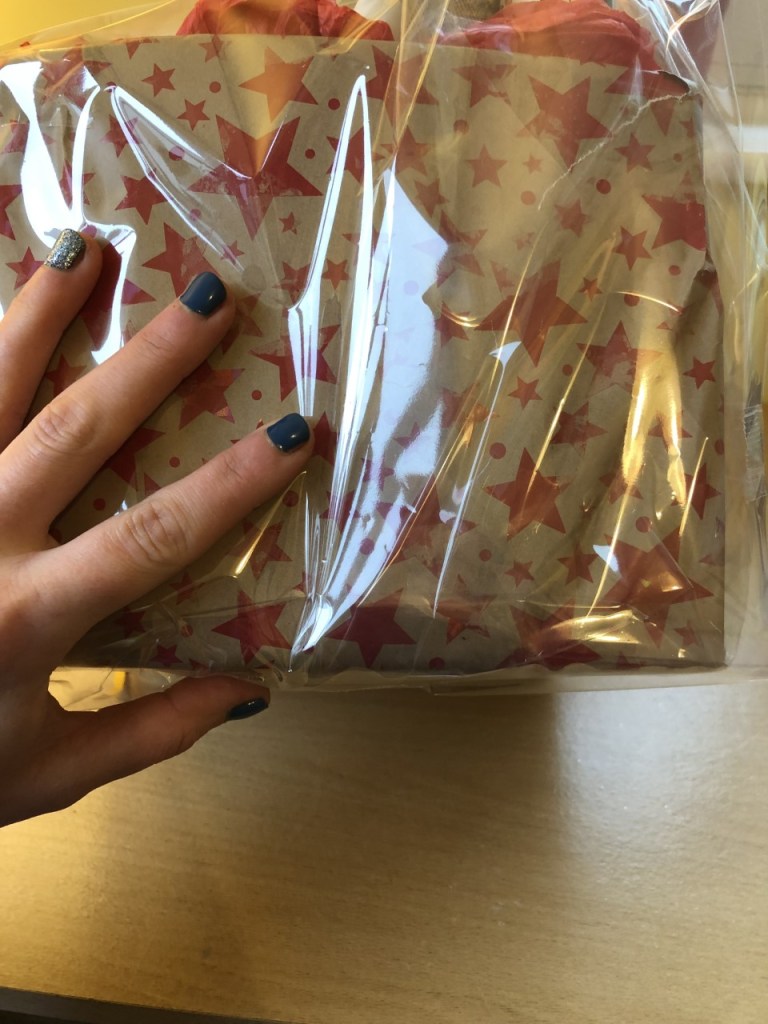
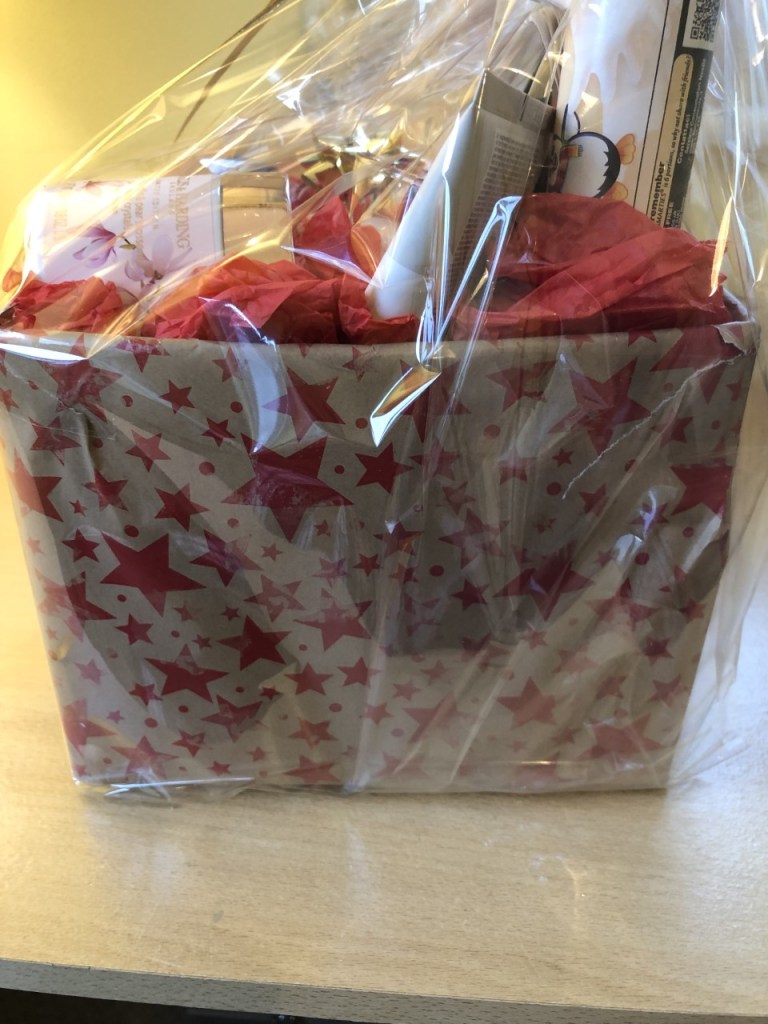
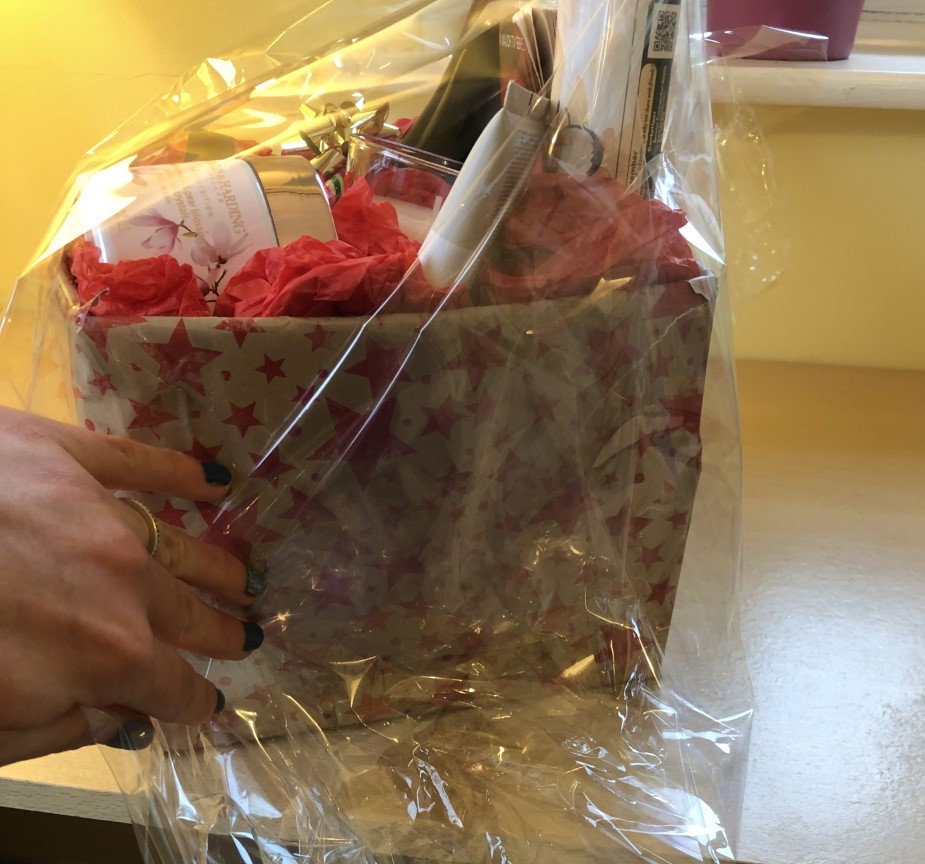
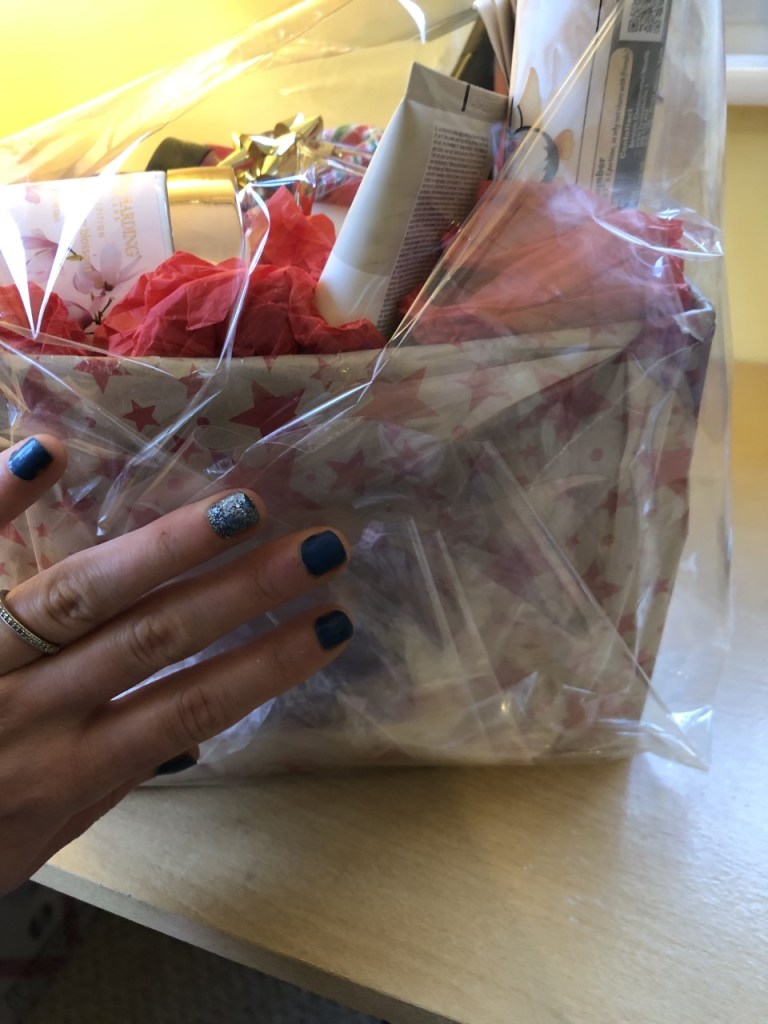
Fold the sides in like a present – push the top bit of cellophane down so it sits flush with the box, then each side diagonally over the top. Trim the left over cellophane at the bottom so it doesn’t go past the top of the box, and pull it upwards and tape it in place:

Put a piece of curling ribbon through your tag and tape the ribbon to the cellophane. Cover the tape with a star or bow.


And there you go, two really easy ways to wrap your hampers. You may find them fiddly at first, but once you’ve done a few they’ll take no time at all.
How to make your hampers eco friendly
I try to recycle as much as possible, reduce my overall waste and reduce my single use plastics, but it can be tough trying to balance giving someone a fantastic gift and being environmentally friendly. Here’s some thoughts on how to make your homemade hampers greener:
- The box – all the boxes I use are unwanted packaging from supermarkets, shops and parcels I have received through the post. Shops are usually happy to give you their unwanted boxes as it’s then less for them to recycle. Using cardboard boxes also means that after the person you are giving the hamper to is done with it, they can put it in their recycling.
- The packing paper – I save the brown packing paper I get in parcels and keep it on an empty wrapping paper tube to use in hampers, but I also get some from flower shops. Flowers are wrapped in large sheets of brown paper when they are delivered to the flowers shops, and the shops are usually more than happy for you to take some off their hands, just pop in and ask them to save you some.
- The Wrapping paper – Try not to use glittery wrapping paper, or paper with a plastic film over it as these can’t be recycled. Patterned paper is fine to use, just make sure it can be recycled after.
- The cellophane – Biodegradable cellophane does exist. It’s more expensive than the regular cellophane, but well worth it if you want your gift to be completely green.
- The decorations – The curling ribbon and stars that I have used are not recyclable, but you could use fabric bows and string, which are biodegradable instead.
If you like this, you may also like:

4 thoughts on “How To – Hamper Wrapping”