
One of my closest friends makes wedding cakes for a living and she told me about this trick. I’ve used it to add finishing touches to numerous cakes and biscuits over the years and as we’re rapidly running out of things to do during lockdown, I thought I’d share it with you. It’s a great thing to get kids involved with, just give them an apron, a couple of paint brushes and some fondant and let them create glittery mess . . . I mean edible, glittery works of art! And the best part about it, if you make a mistake, just eat the evidence and start again.
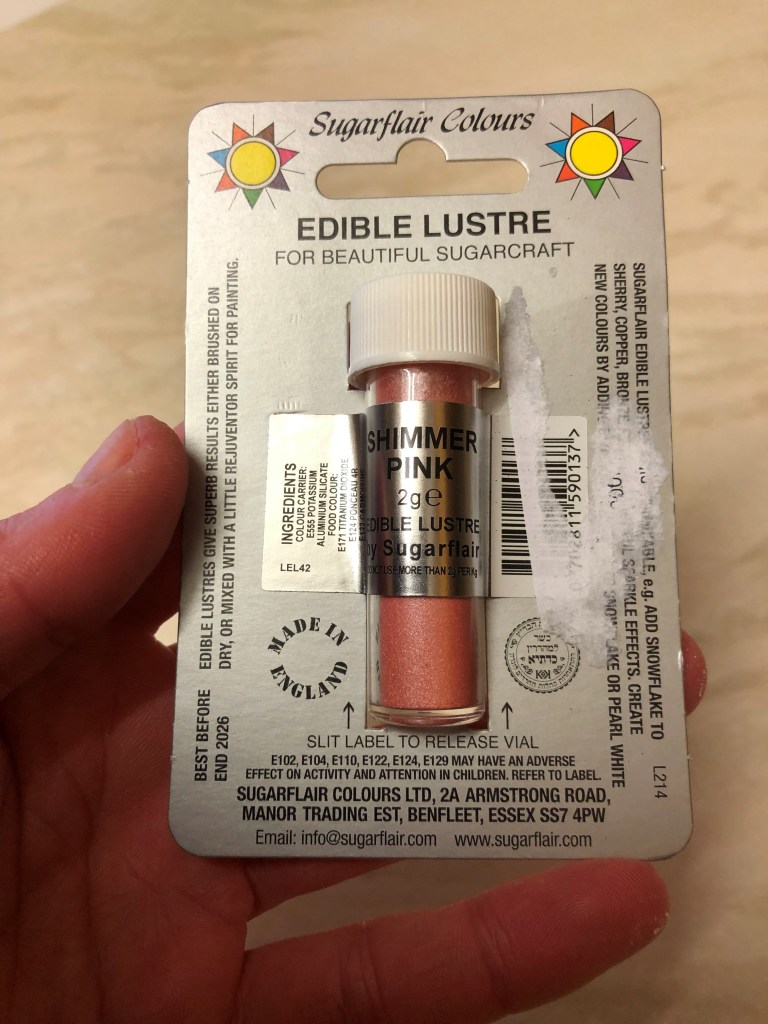
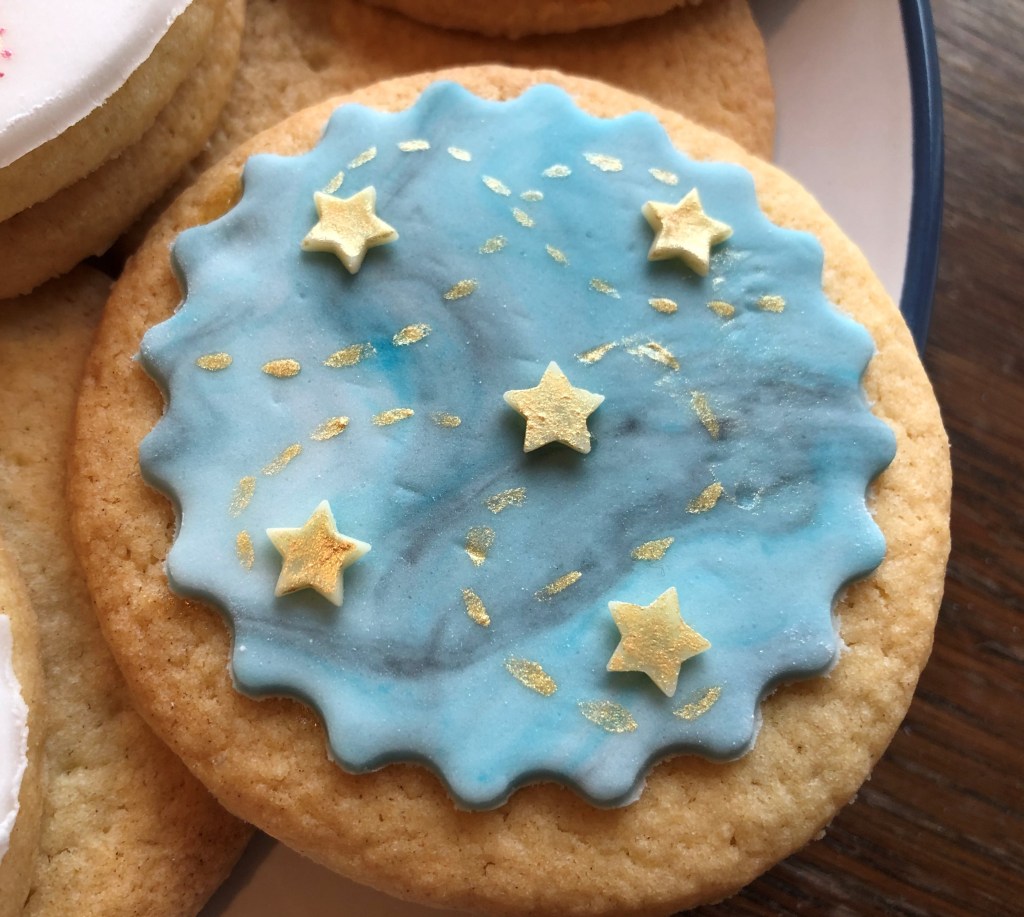
You can buy edible lustre in a wide range of colours from Amazon and baking shops (when they re-open) You can dust them over icing to give a nice sheen, but if you mix them with a drop of water you can paint with them!
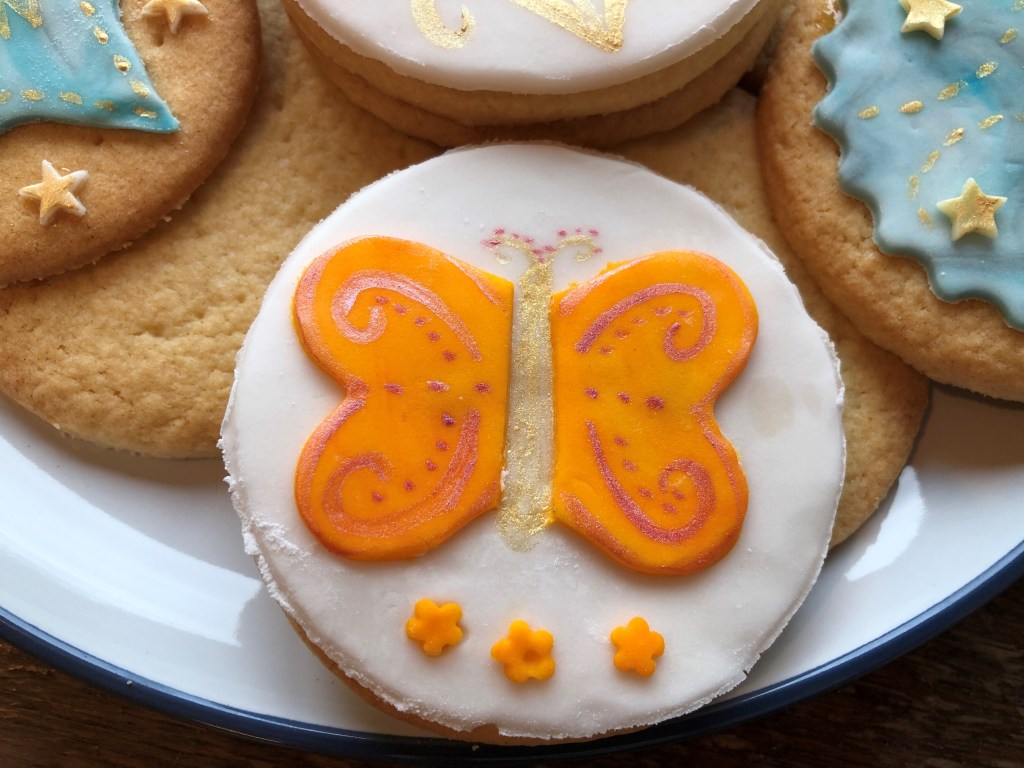
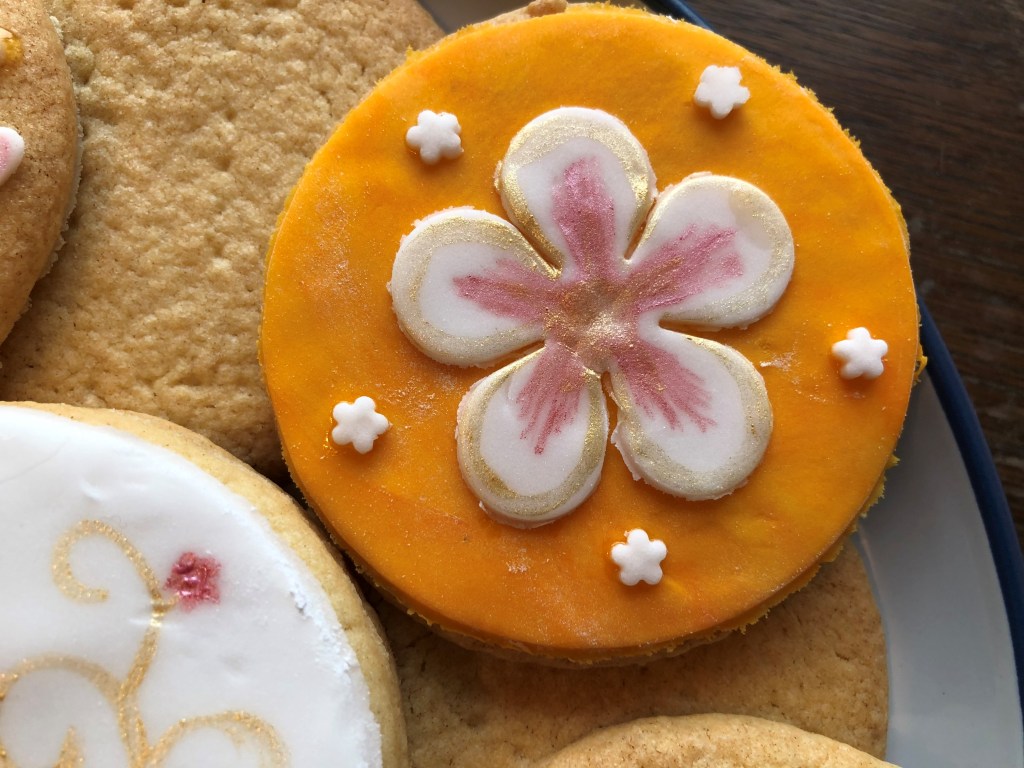
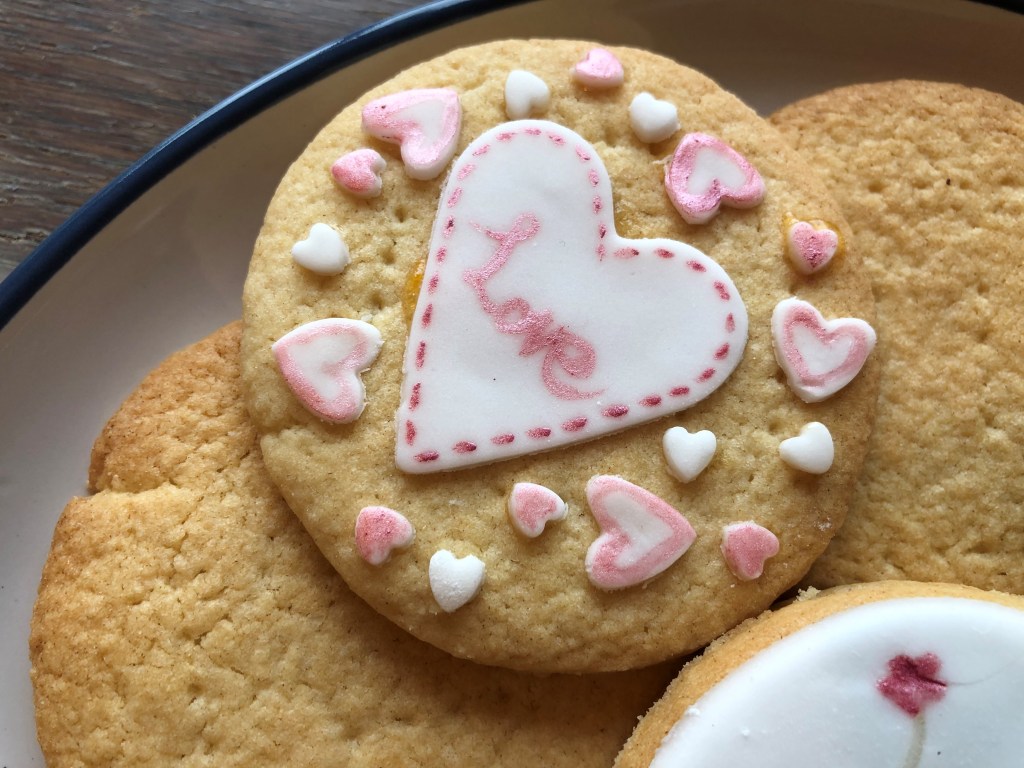
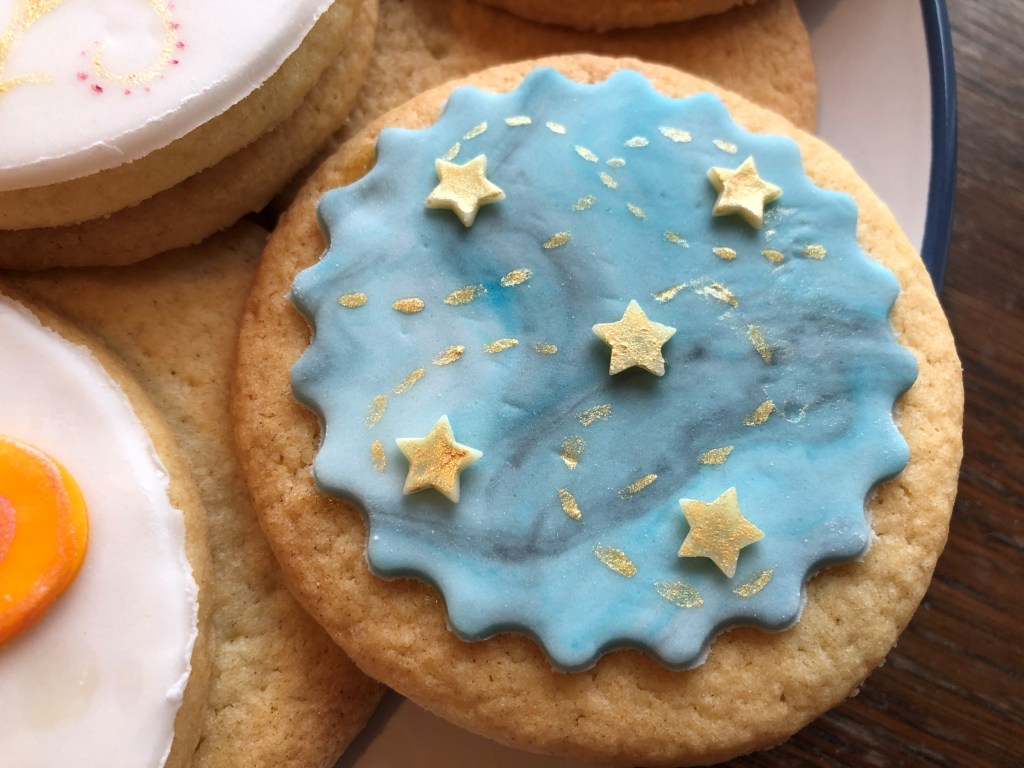
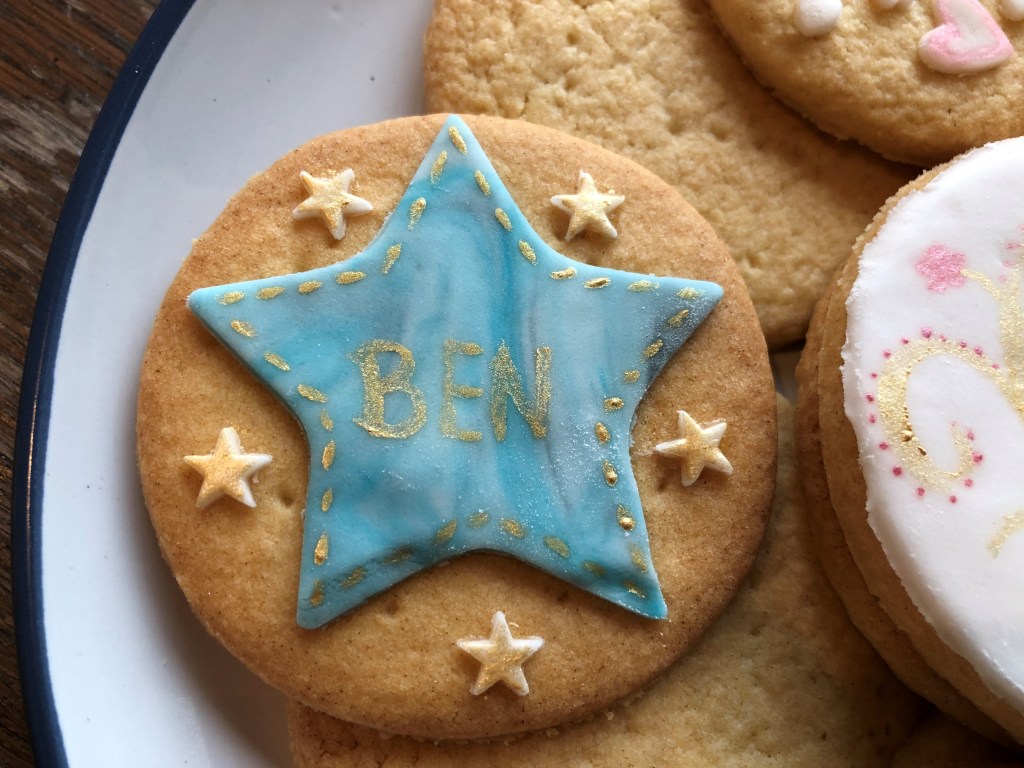
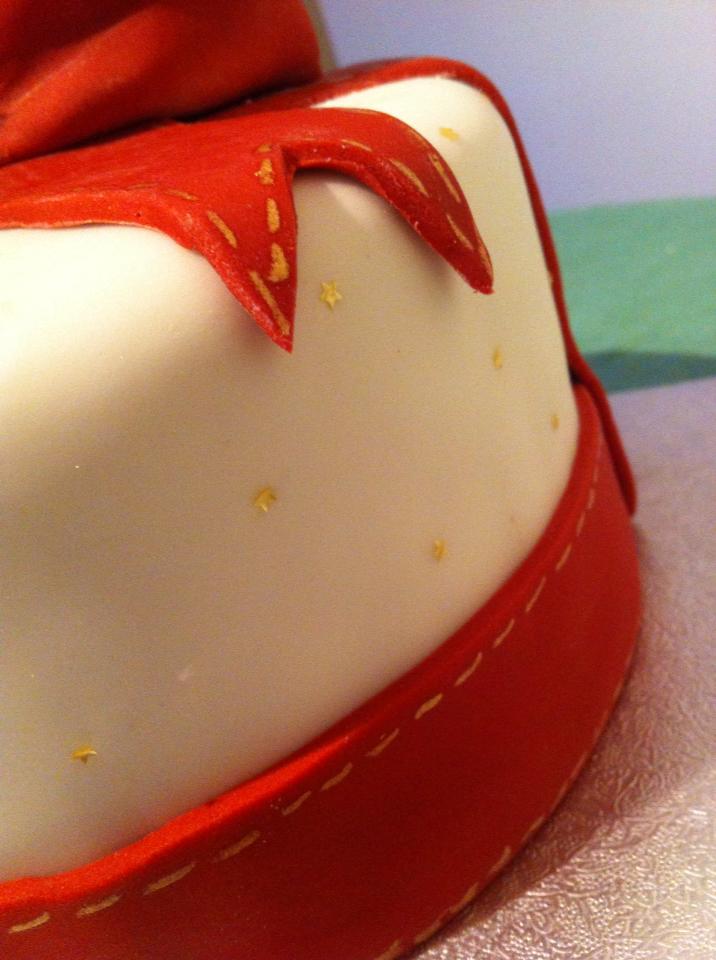
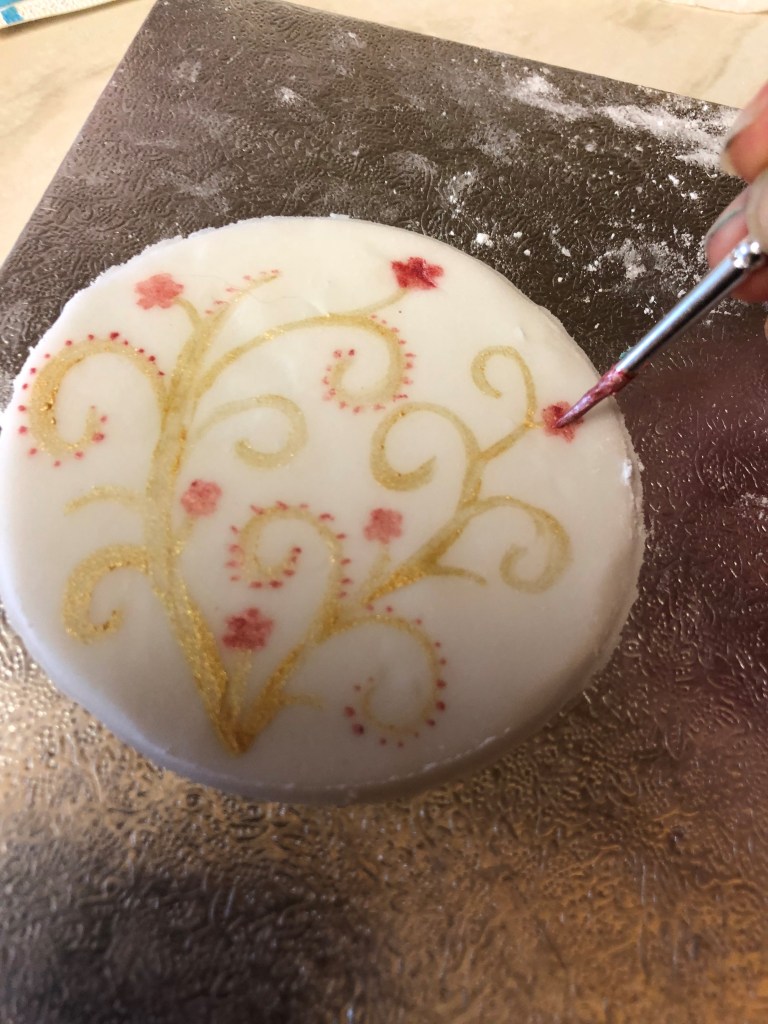
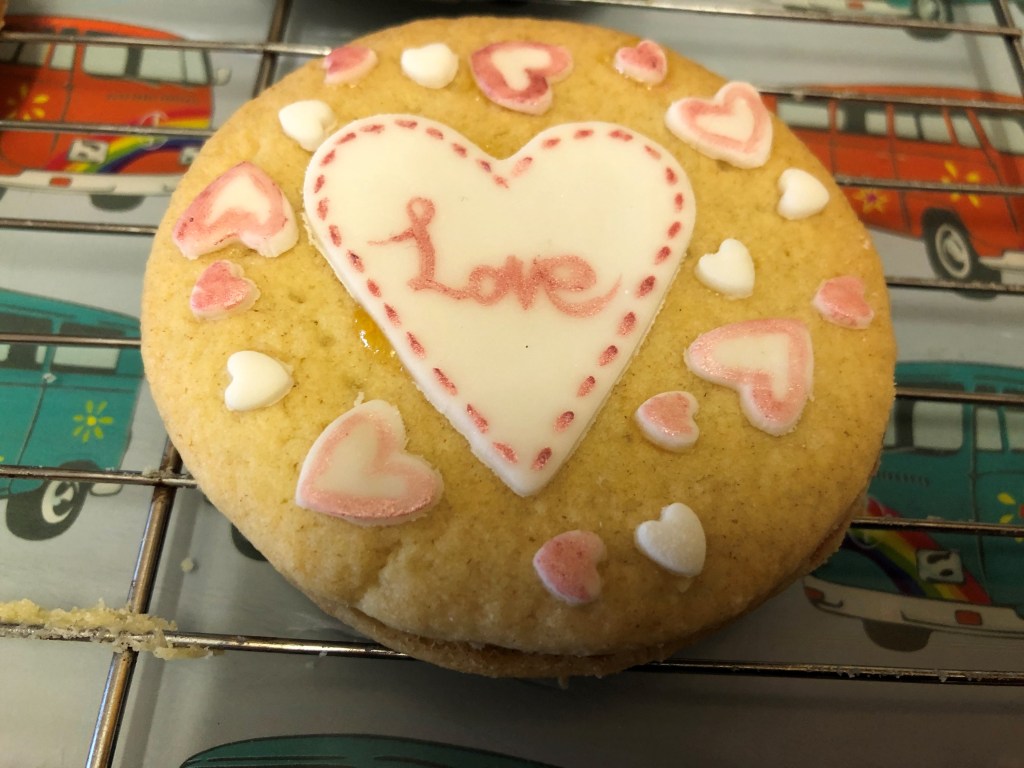
Here are some examples for inspiration:
(Disclaimer: Don’t judge the designs, I am not artistic at all, I’m sure you could do a much better job!)
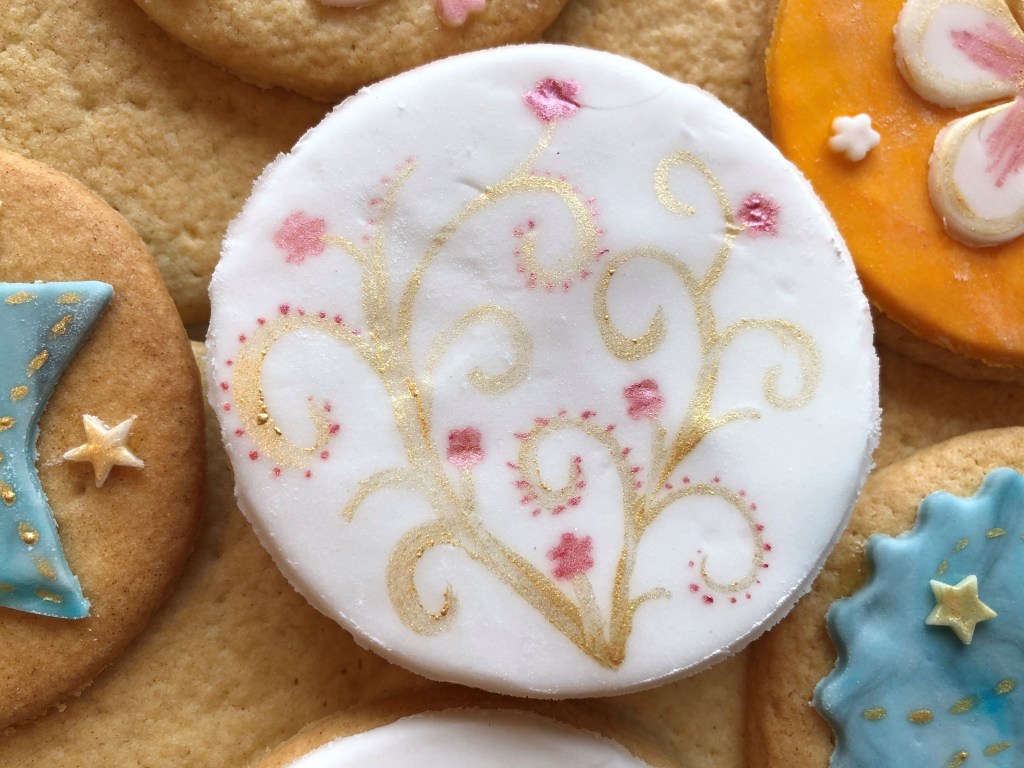

Put small amounts of lustre into an ice cube tray or upturned egg cups to keep the colours separate, and you literally want a drop of water. You are aiming for a paste rather than a puddle. If you dilute the lustre too much the colour wont be vibrant on your icing. Once you have your paste you can just use a fine watercolour paintbrush to paint your design straight onto the icing.
If I’m making biscuits or cupcakes, I tend to cut out my fondant, create the decorations, then carefully transfer them onto the biscuit or cake, that way if I mess up a decoration, I haven’t ruined a whole biscuit.
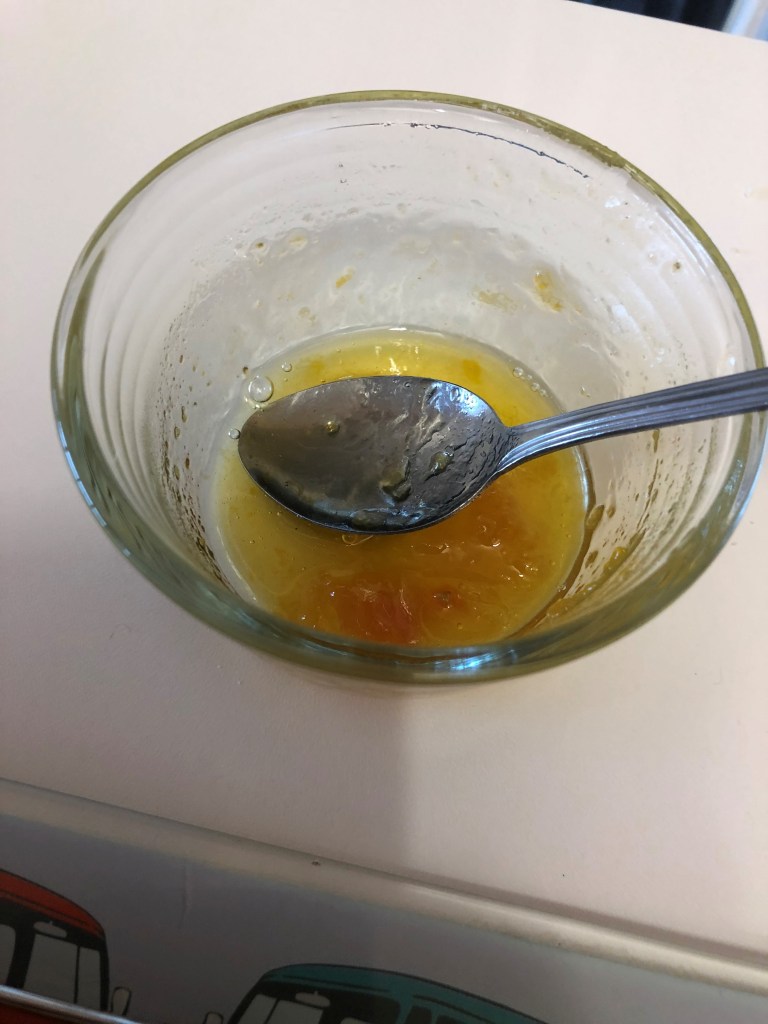
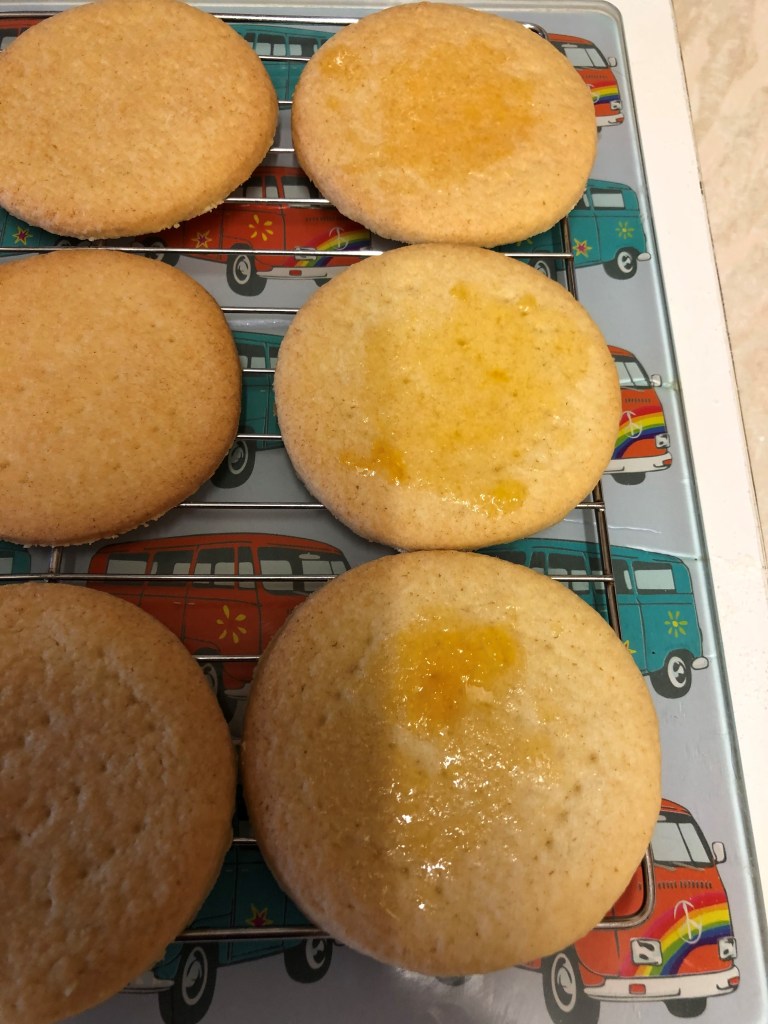
To stick the fondant to the cake or biscuit, and also stick fondant pieces to each other to create layered designs, just use icing sugar mixed with water, or a tablespoon of apricot jam (you wont taste it over the sugar) heated up with a teaspoon of water to loosen it.
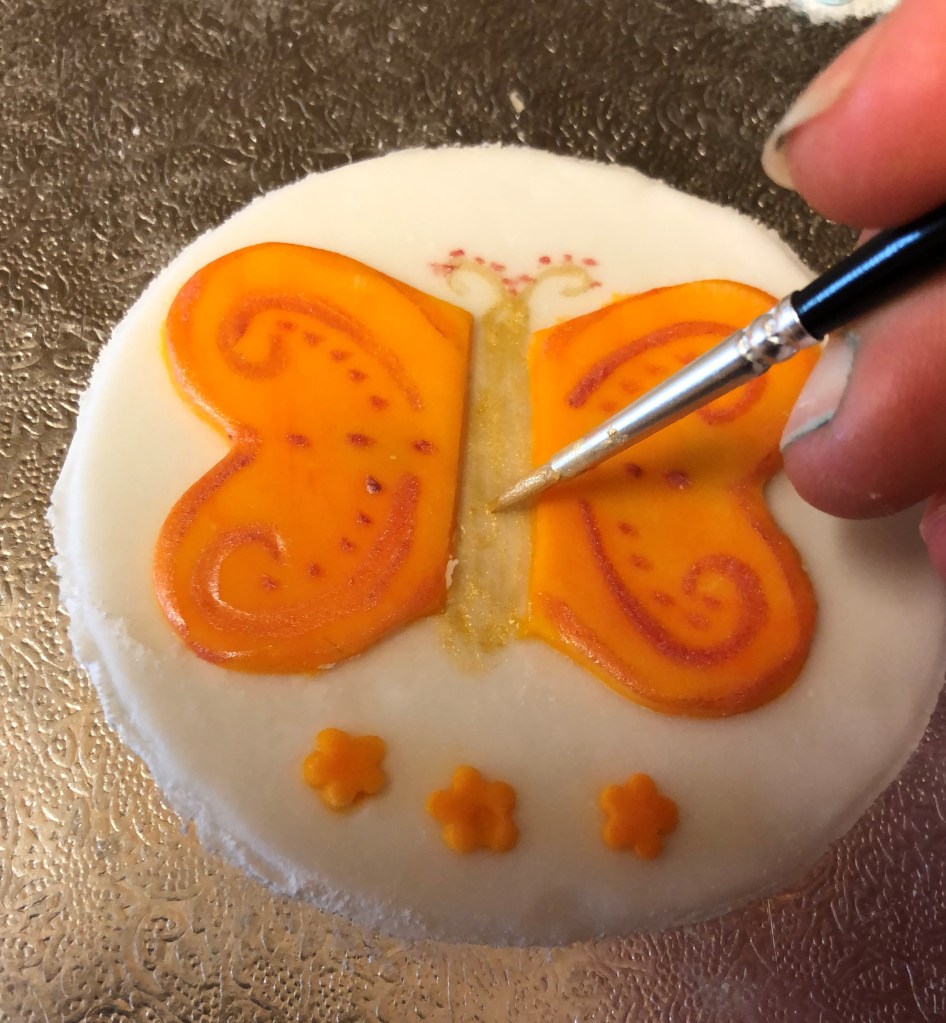
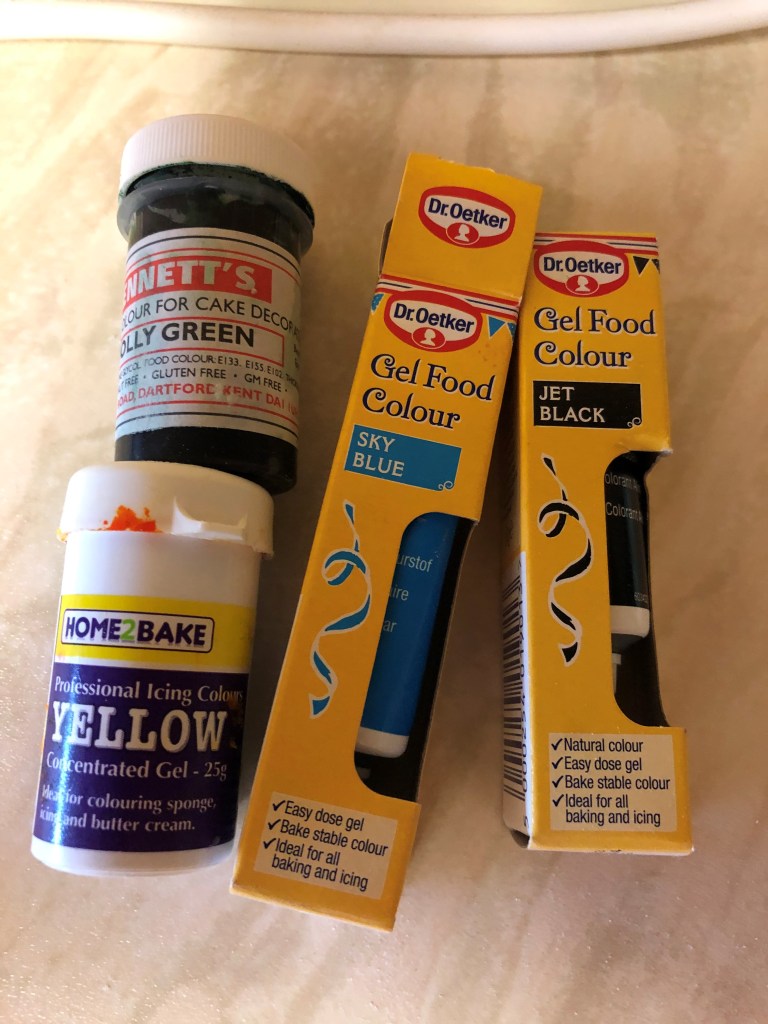
The lustres work really well on white fondant of course, but if you pick up a few food colourings, you can experiment with painting onto different coloured fondants. This is great fun as you can create your own colours and shades and you can experiment with marbling. Just take a small piece of white fondant and soften it in your hands. Use a toothpick to transfer a tiny amount of colour onto the fondant and knead it to mix it in. The amount of colour you’ll need depends on the concentration of the colourant, how much fondant you are colouring and how vibrant you want the design, so it’s always best to add a little at a time. To create a marbled design, just add a few colours and work them in minimally, so they don’t mix completely and you can still see the different colours. That’s how I created the starry night design.
Mixing your own colours works out much cheaper than buying coloured fondants in the long run too. The colours last for years, whereas once you open a packet of fondant it’ll dry up in a few days. So instead of having lots of half packets of wasted fondant in your cupboard, just buy one pack of white and colour just the amount you need.
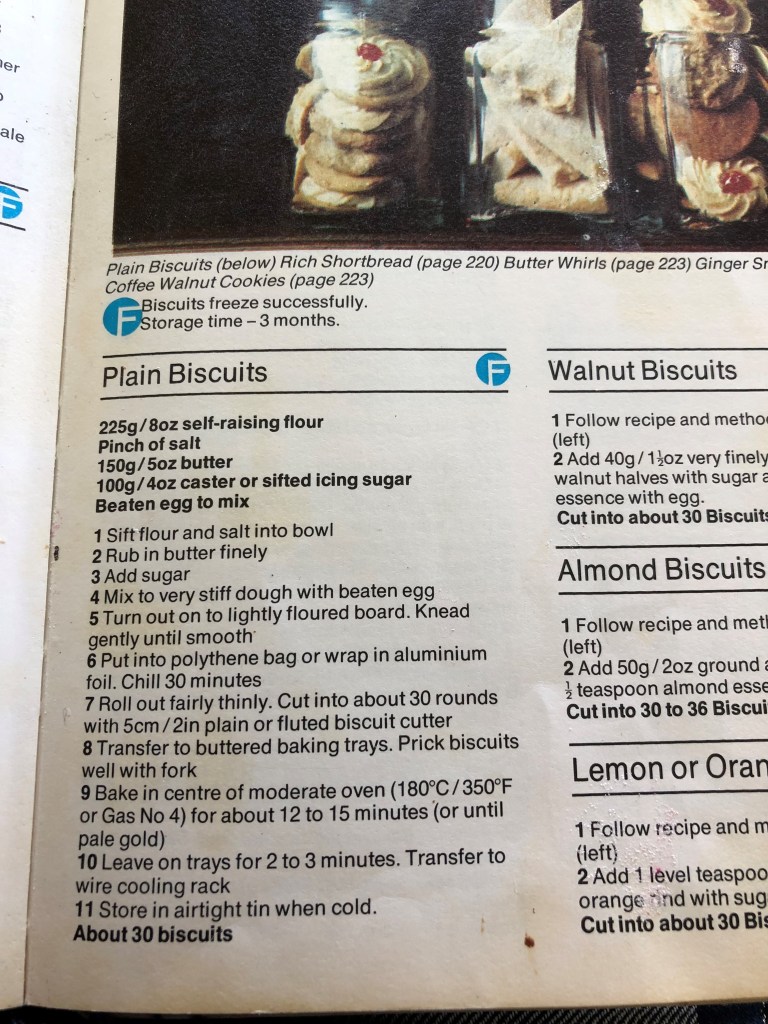
This is the biscuit recipe I used, it’s from my old The Dairy Book of Home Cookery (see my about page for more info)
I’ve included it here so you can use it if you want, it’s a very simple recipe but it does make a nice biscuit. Feel free to pimp it up a bit by adding a drop of vanilla, chopped nuts, lemon, orange or lime zest or dried fruit along with the sugar. Or do what I did and leave them plain, but sandwich them together with strawberry jam. You can also use this decorating technique on cupcakes as well, just put a plain circle of fondant on top of the cake and use that as a base for your design. A fluted cutter looks really nice for cupcakes as it matches the shape of the cases.


If you liked this post, you may also like:
Orange and Ginger Cupcakes with Orange Velvet Frosting
